Knowing the Nioh 2 Darkness in the Capital Kodama locations will help anyone going through this hard expansion. And not only will it slightly ease the difficulty, it will also unlock the “Kodama Pathfinder” trophy. Here’s how and where to find all the Kodama in the Nioh 2 Darkness in the Capital DLC.
Nioh 2 Darkness in the Capital Kodama Locations | Suzune in the Flame
There are two Kodama in this mission, as it is rather short. They are also pretty close to one another.
Progress until you fight your first Oboroguruma (Kodama #1)
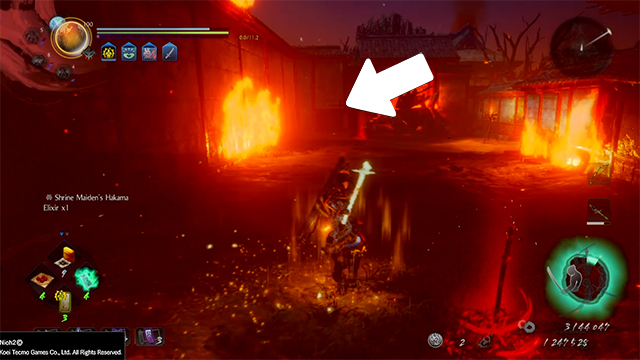
Once you get to the Oboroguruma, the new enemy that’s a face inside of a carriage, you’re in the right place. Kill it.
Check in the area just behind where the Oboroguruma wheeled out of (Kodama #1)
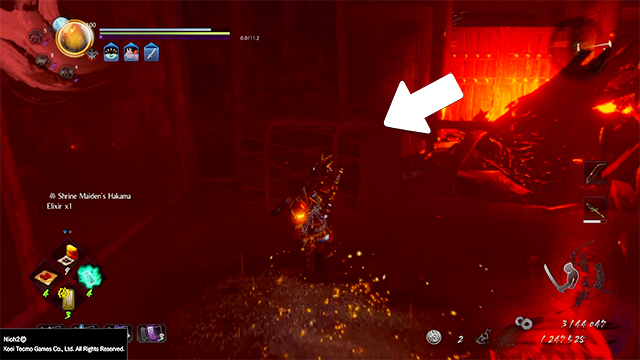
If you go to the end of that path, you will see some crates. Smash them.
The Kodama will be in that crate (Kodama #1)
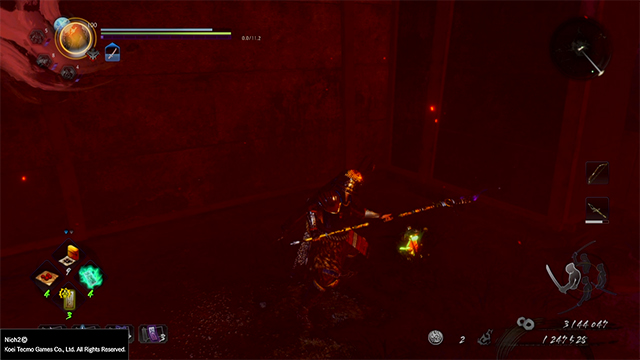
The little Kodama will be in those crates. It’ll probably be scared since you attacked near it but give it a few moments and you can grab it.
Defeat the Oboroguruma and turn right (Kodama #2)
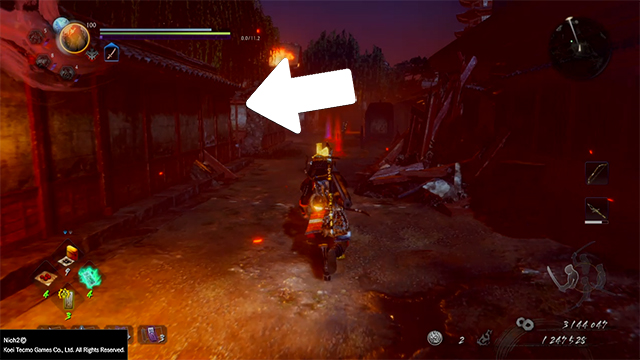
After that fight, go right where the Oboroguruma came from. Go down that path and go to the area that the arrow is pointing to.
Go left into a small area with some fire Oni-bi enemies (Kodama #2)
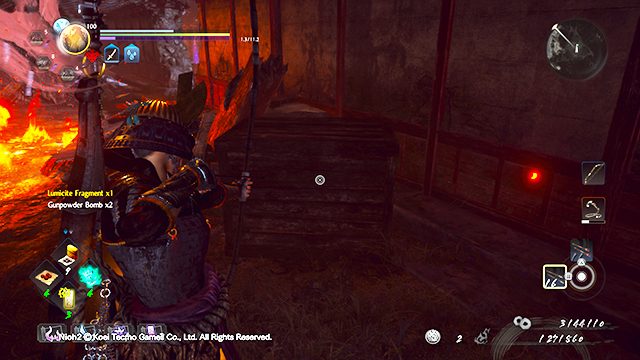
Kill those fire enemies after you go in that small alcove on the left. Roll through the fire and look at the box in the picture.
Roll through the fire and smash the crate (Kodama #2)
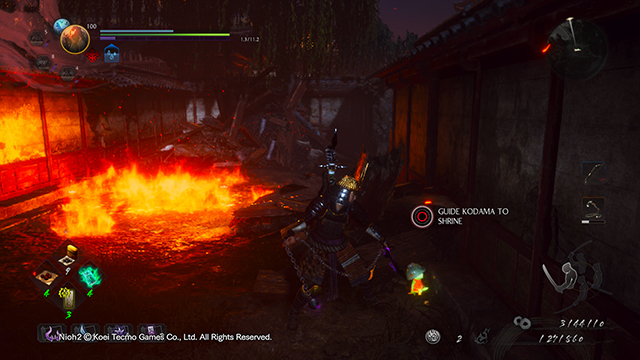
After you roll through the fire, smash the crate to see the Kodama.
Nioh 2 Darkness in the Capital Kodama Locations | The Blighted Gate
There are nine Kodama in this second main mission. Some are quite hidden so be on the lookout.
Go into the first big building (Kodama #1)
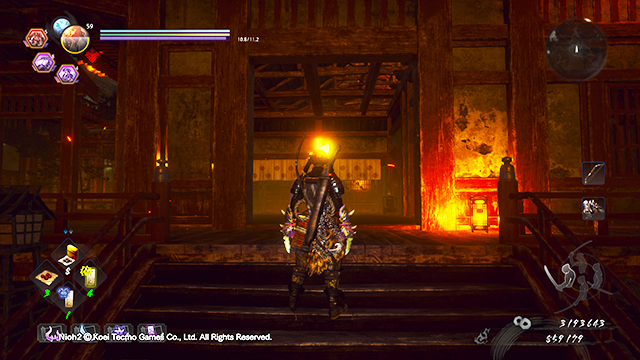
In the beginning of the level, you’ll have to go inside the above building. Go inside.
Open the door to your right (Kodama #1)
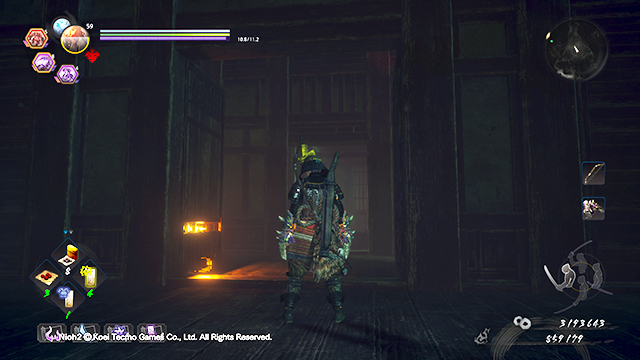
There will be a door to your right that you can go through so go through it.
Turn to your left (Kodama #1)
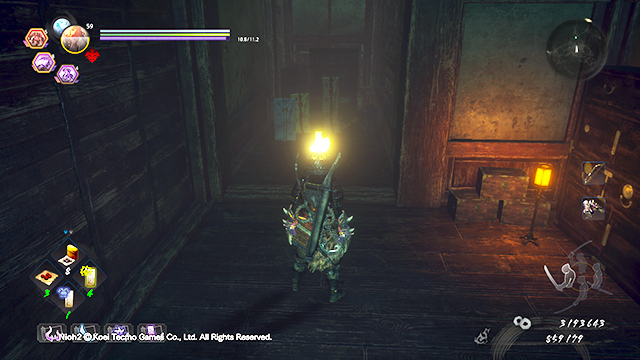
Now immediately turn left. You’ll see some crates.
Smash those crates (Kodama #1)
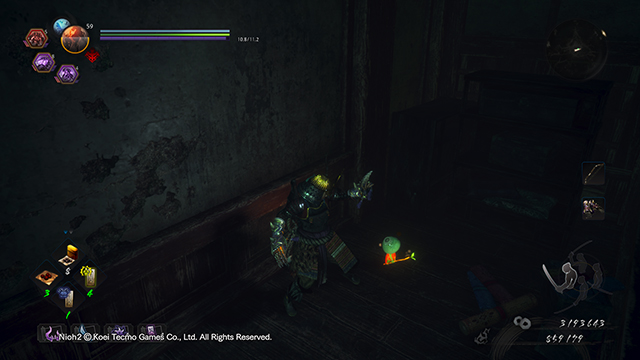
Just smash those crates and the little green guy will be sitting there.
Find the gross Nuppeppo (Kodama #2)
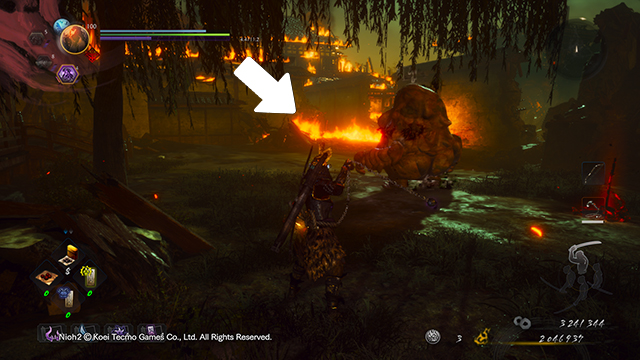
Progress until you get to the Nuppeppo, which is the nasty guy that was introduced in the last DLC. Go to the flames in the distance that the arrow is pointing to.
Roll through the flames (Kodama #2)
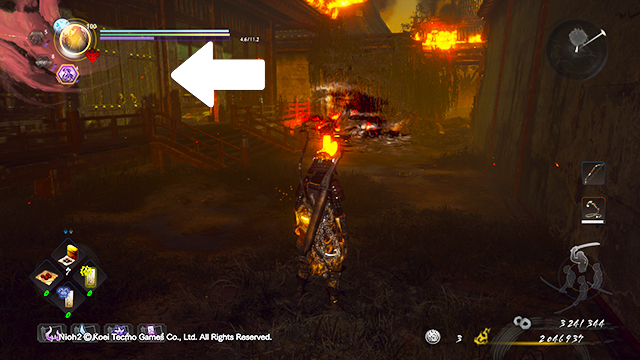
Roll through those flames and then open the door on the left side that the arrow is pointing to.
Turn right and look at the crates (Kodama #2)
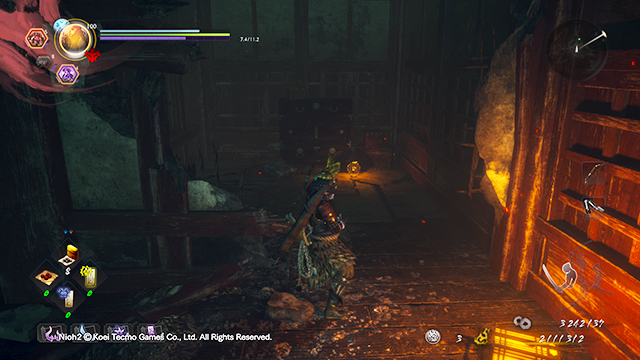
Once you get in, immediately turn to your right. You’ll see some crates.
Smash those crates (Kodama #2)
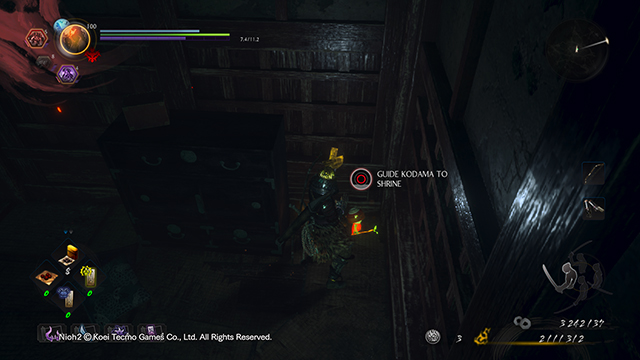
The Kodama will be under those smashed crates.
Continue until you get to a long path (Kodama #3)
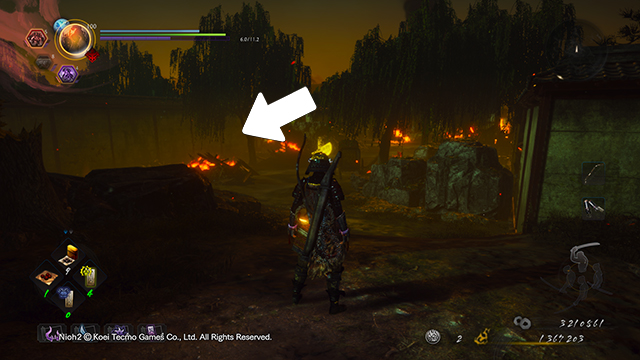
Going through the level will naturally get you to this long path full of enemies. Now look to where the arrow is pointing.
Go down the ladder on the left (Kodama #3)
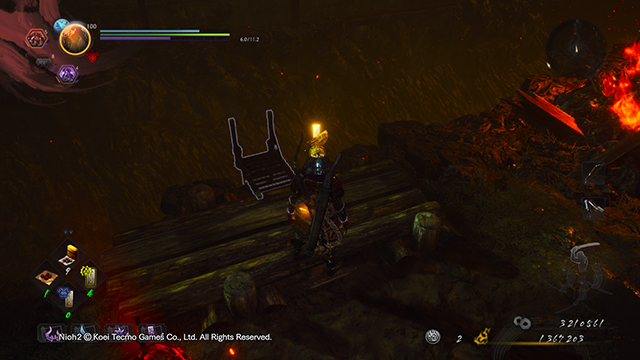
You’ll see a ladder to where that arrow is pointing. Go down it.
Kill the wolf (Kodama #3)
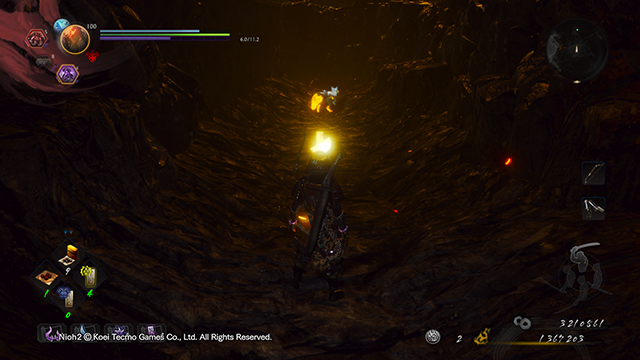
There’s a wolf looking at something down that path. Kill it.
Pick up the Kodama (Kodama #3)
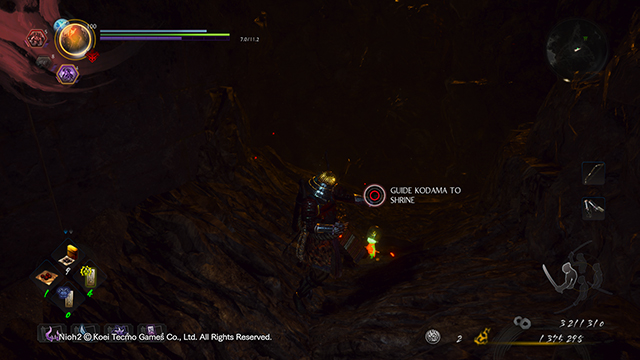
After killing the wolf, you just need to pick up the Kodama.
Get to the next shrine and look back near the Tesso (rat enemy) (Kodama #4)
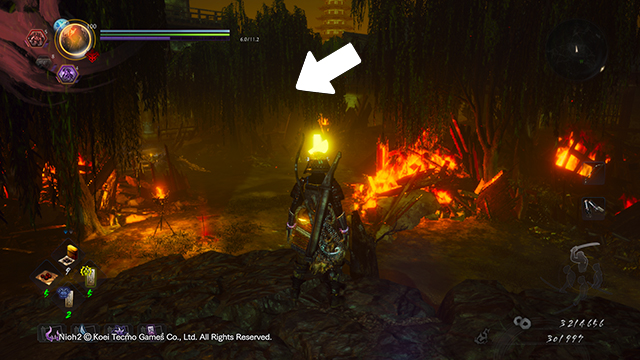
This next Kodama is right near the last one. Once you get to the Shrine at the end of that path, look back. You’ll see a Tesso (rat enemy) and some steps. Go there somewhat near where the arrow is.
Go up the stairs (Kodama #4)
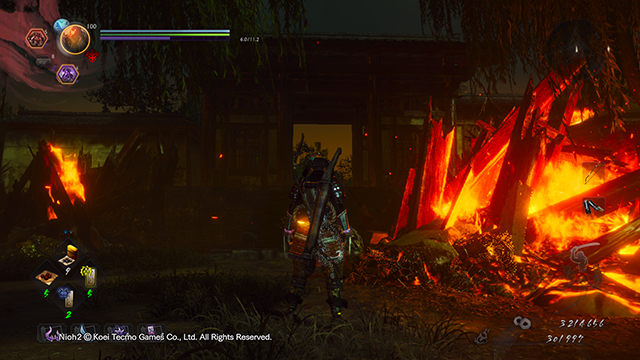
That arrow points to some stairs. Go up them. Watch out for the archer.
Go into that broken building (Kodama #4)
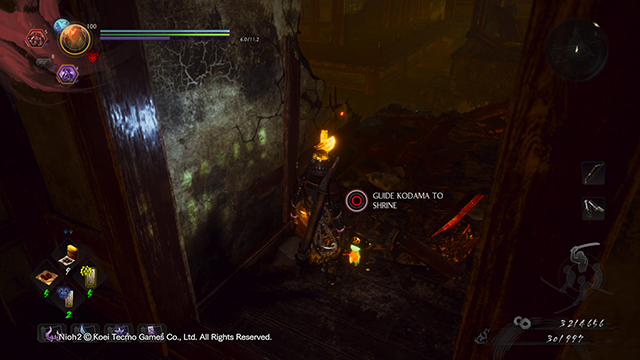
Those steps lead to a building with a little Kodama inside.
Follow the path until you get to the village (Kodama #5)
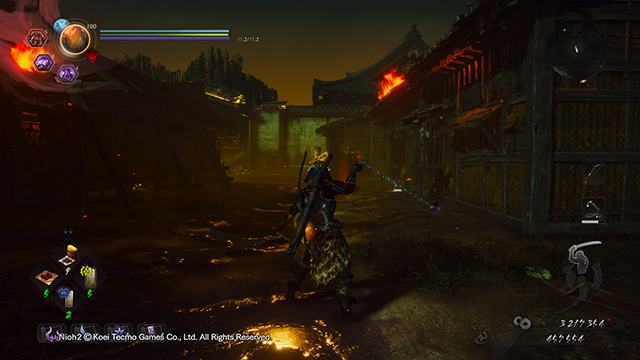
There will be a small destroyed village right after the Shrine from the last Kodama. Go through it. It will be full of Gaki enemies.
Turn the corner and then go left (Kodama #5)
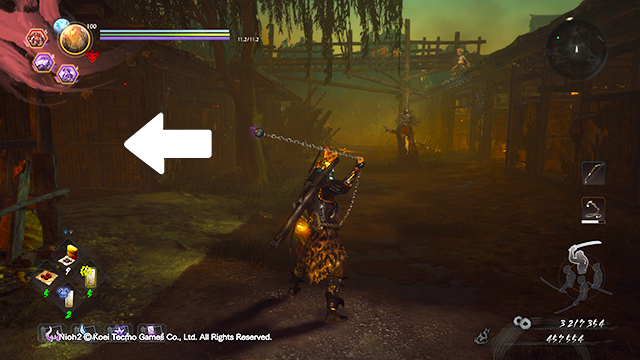
The second row of buildings will have a witch-like enemy strolling about. But don’t fight here just yet. Go left to where the arrow is pointing.
Go to the crates on the left (Kodama #5)
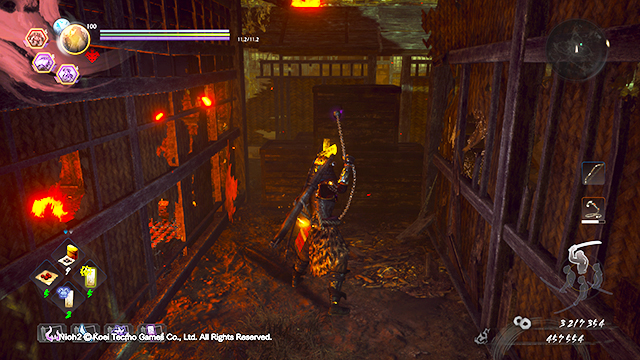
Once you get to that little path, you’ll see some crates.
Smash those crates (Kodama #5)
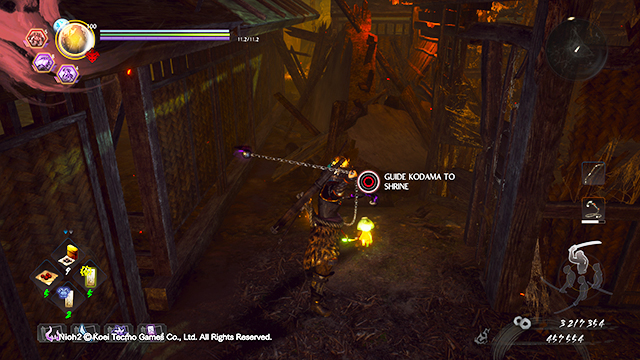
Now smash those crates and you’ll see the Kodama right there.
Go into the cave (Kodama #6)
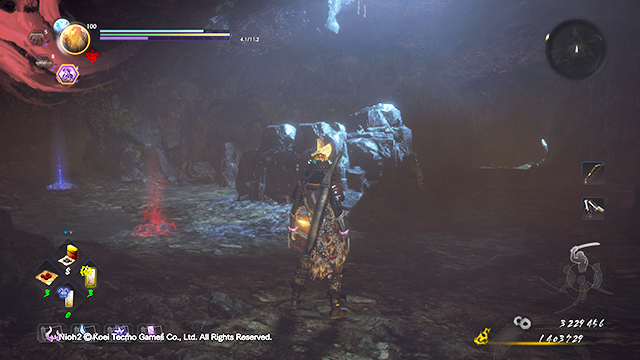
You’ll have to go down inside of a cave a bit later in the level. Take the ladder down. You’ll get to this area.
Find the Nurikabe wall (Kodama #6)
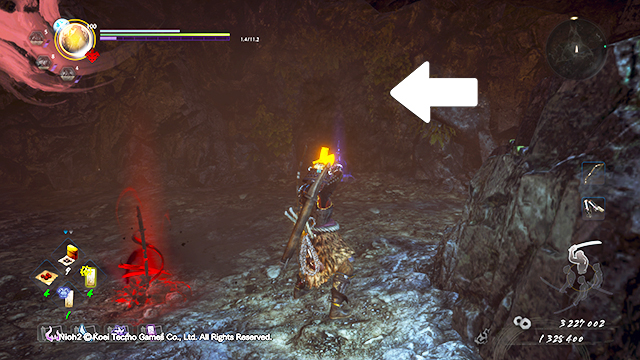
There is a Nurikabe wall near the rock in the center of that area. The arrow is pointing to it. You’ll also hear it groan when you’re near it. Kill it or find the right emote.
Go through that path and check in a small alcove (Kodama #6)
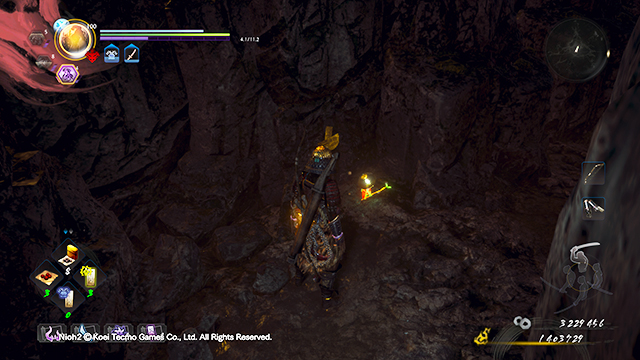
Once you defeat the Nurikabe, you will go down the right path. Kill some spiders and it’s just in a small alcove, slightly hidden from view.
Get to the burned out building (Kodama #7)
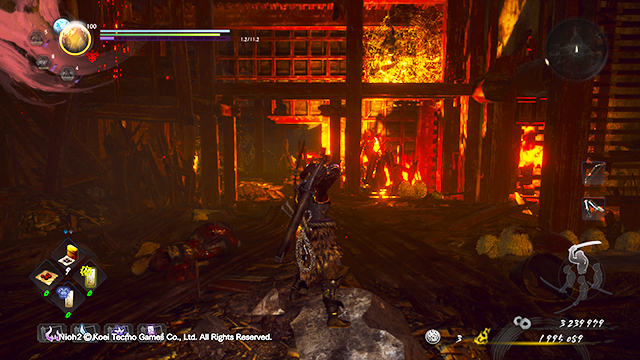
During the mission, you will make your way to the burned out building in the above picture. Look to the flames on the right inside the building.
Roll through the flames on the right side (Kodama #7)
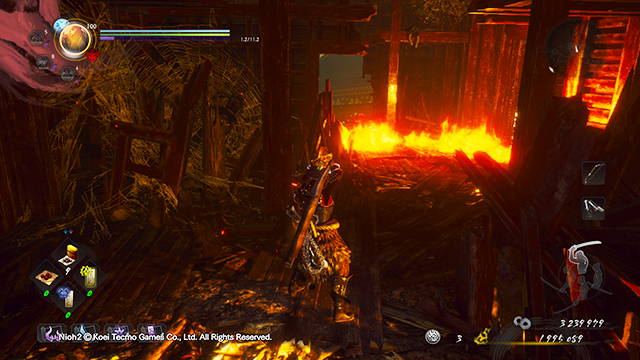
Roll through those flames. Be quick and also be sure to extinguish the flames by rolling.
Grab the Kodama on the plank right outside the flames (Kodama #7)
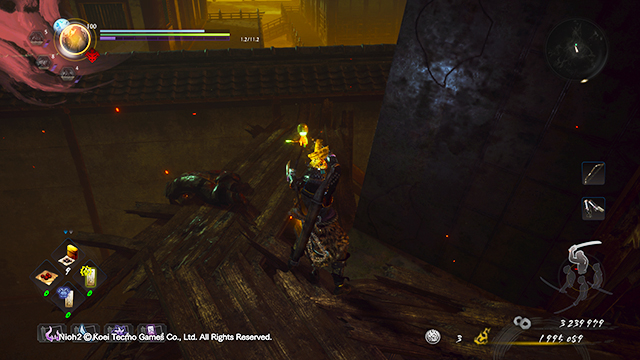
The Kodama should be just outside past the flames.
Find the house shrouded in the Dark Realm (Kodama #8)
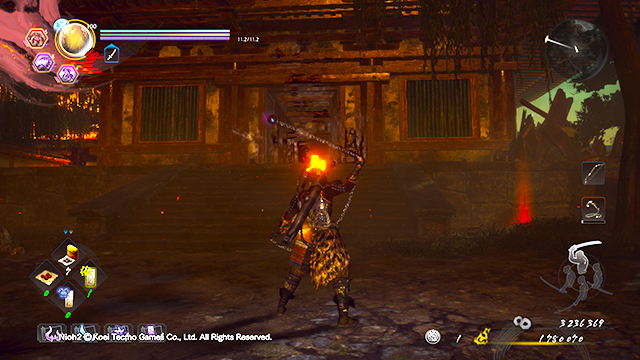
You will find a house shrouded in the Dark Realm with a Shrine inside.
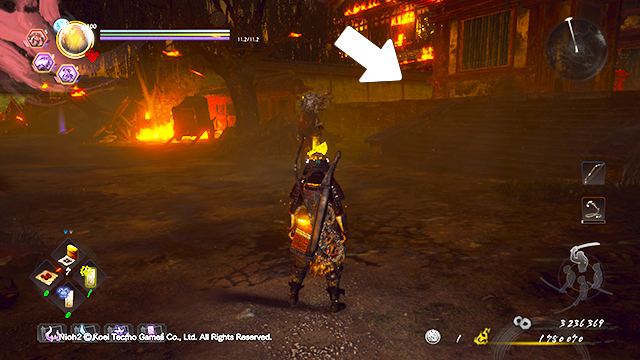
Here’s an alternate view. Go to where the arrow is pointing.
Go down the left side path (Kodama #8)
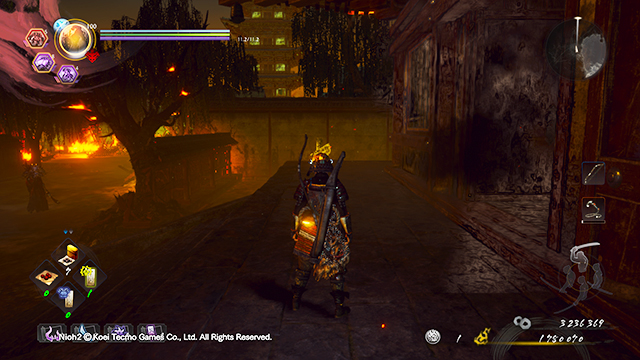
Go outside and go to the path that points to the objective, which you can see on the mini-map in the top right.
Smash those crates (Kodama #8)
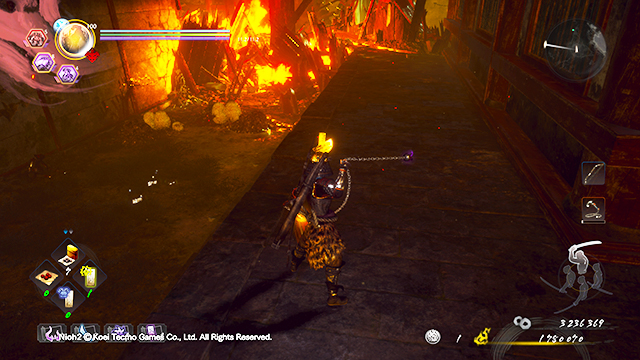
Once you do that, you’ll see some spiders on the lower level. Go down and attack them.
Go grab the Kodama (Kodama #8)
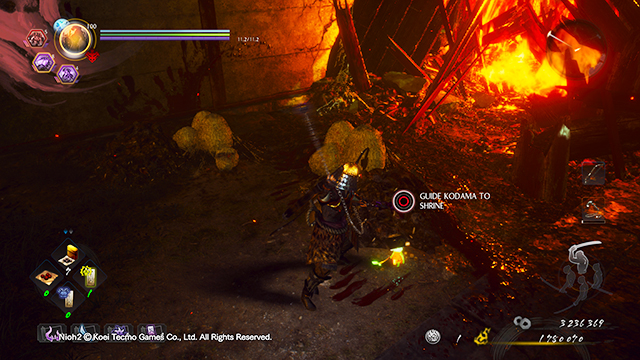
Once you do that, you will see that the spiders were around the Kodama.
Go back to the house shrouded in the Dark Realm and webs (Kodama #9)
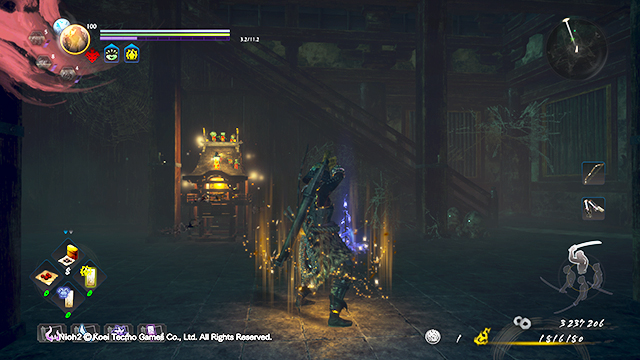
Go back to that house with the Shrine. It is covered in webs and had the Dark Realm. Go up the stairs.
Go up the stairs and then go out on the top floor (Kodama #9)
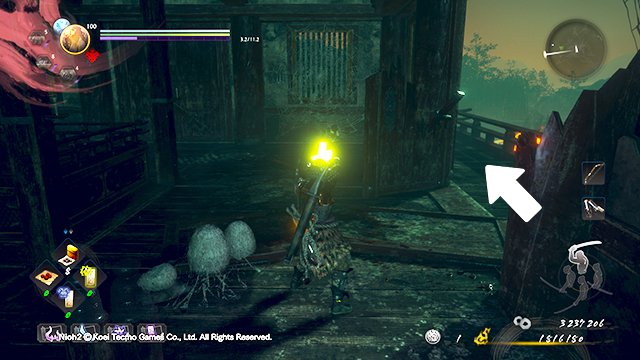
Once you get all the way up the stairs, go outside on the balcony.
Go around the balcony outside (Kodama #9)
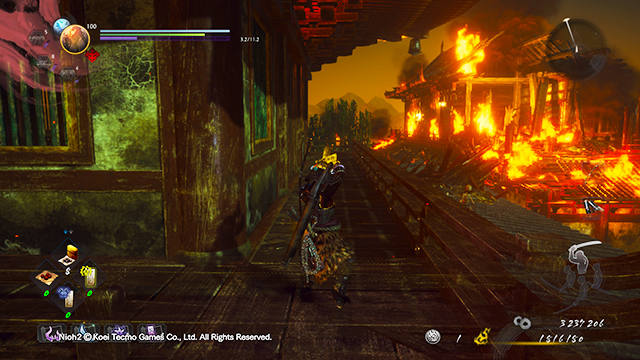
Now go around the balcony. Don’t drop down.
Find the Kodama around one of the corners (Kodama #9)
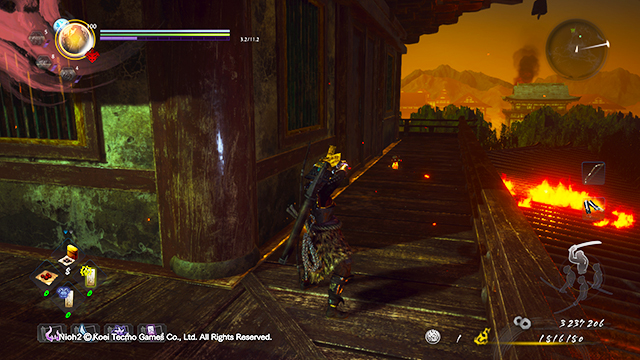
The Kodama is on that floor on the balcony. Just go around a few corners and you’ll see it.
Nioh 2 Darkness in the Capital Kodama Locations | Palace of the Damned
This last campaign mission in the expansion has eight Kodama in it.
Turn around at the very start of the level (Kodama #1)
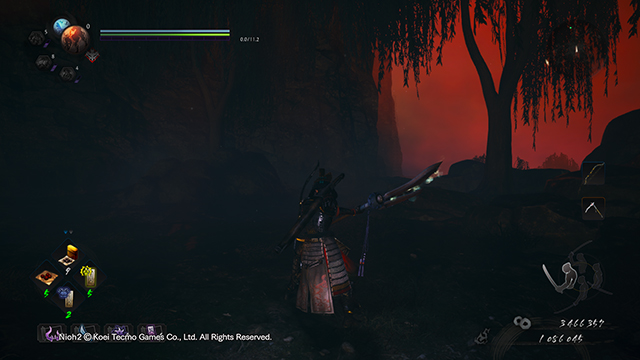
This one is easy but can be easy to miss. Turn directly around right when you load into the level.
Keep going the “wrong way” and it is by a tree (Kodama #1)
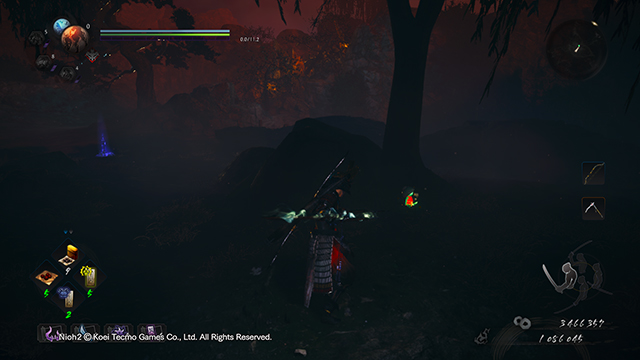
Go a little bit backwards and the Kodama is at the base of a tree.
Get to this bridge and go right (Kodama #2)
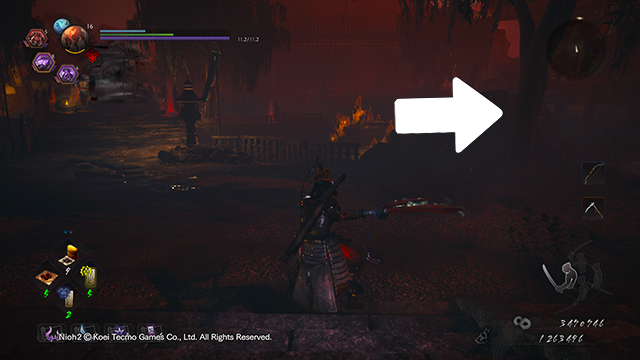
Go to this area in the beginning of the level and go right. Don’t go toward the bridge.
Go past the crystals (Kodama #2)
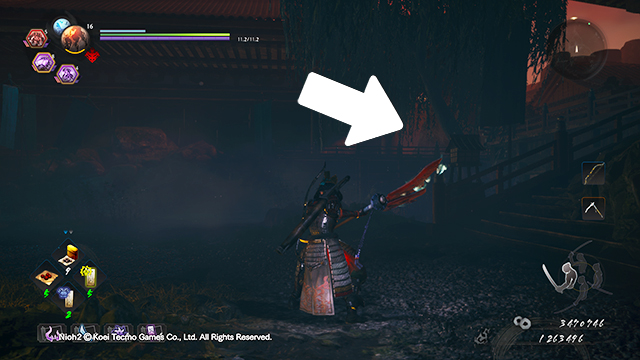
Keep going past the crystal walkway and go to a small alcove on the right.
Check by a tree in the corner (Kodama #2)
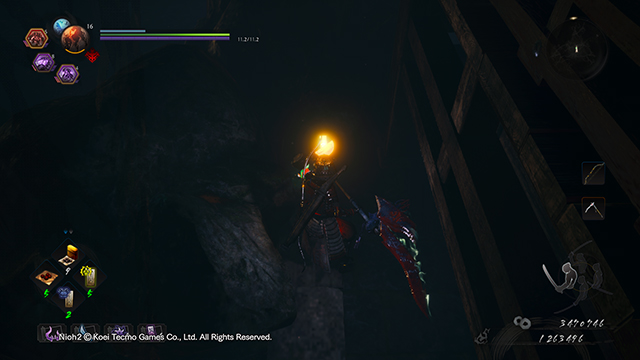
The Kodama is next to a tree where the arrow was pointing in the previous picture.
Get to the building with the big double doors (Kodama #3)
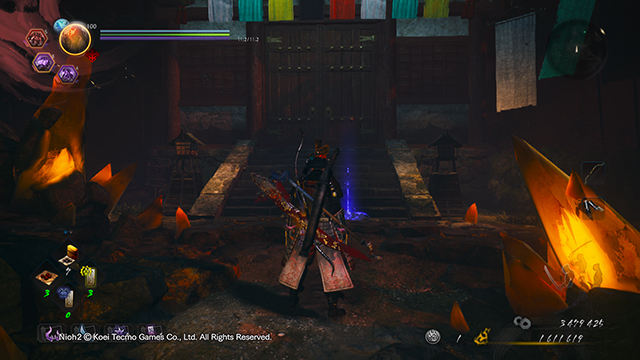
You will eventually get to this big building while going down the critical path. Go inside.
Go up the ladder (Kodama #3)
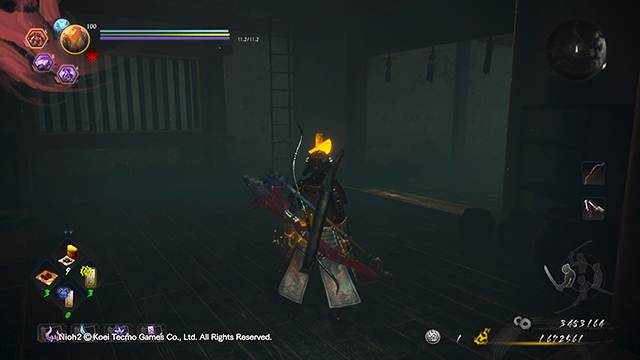
You will see a ladder in there. Go up it.
Go down this hallway (Kodama #3)
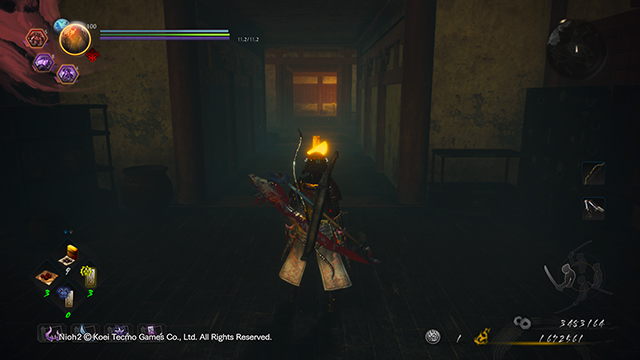
Then once you’re up there, go down this hallway.
Go by the hole in the floor with the exit to the balcony (Kodama #3)
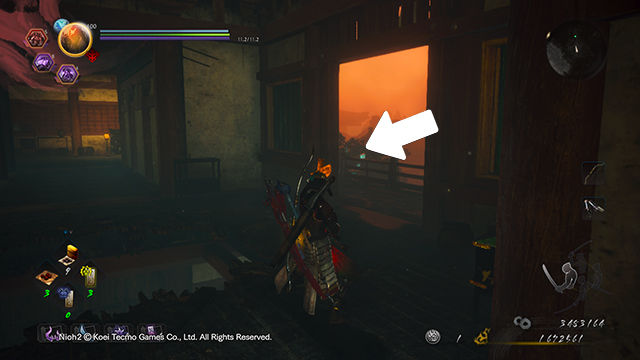
You will see a room with a hole in the floor (so watch out) and then an opening to the balcony.
Go out to the balcony to grab the Kodama (Kodama #3)
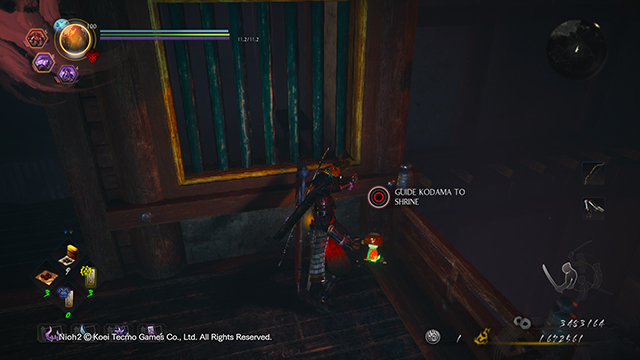
The Kodama is sitting there on the balcony.
Get to the vista with the crystals and tall building the background (Kodama #4)
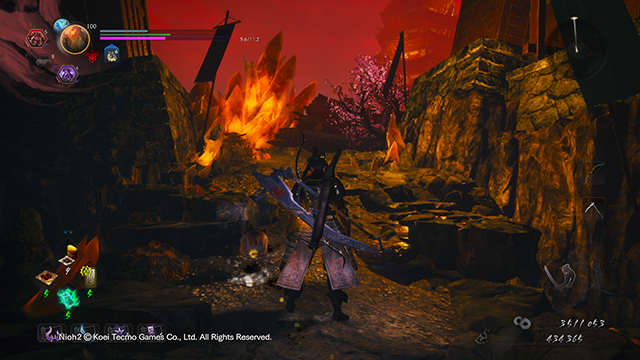
This path is part of the critical path. Go through this way.
Make your way to the building with crystals sticking out of it (Kodama #4)
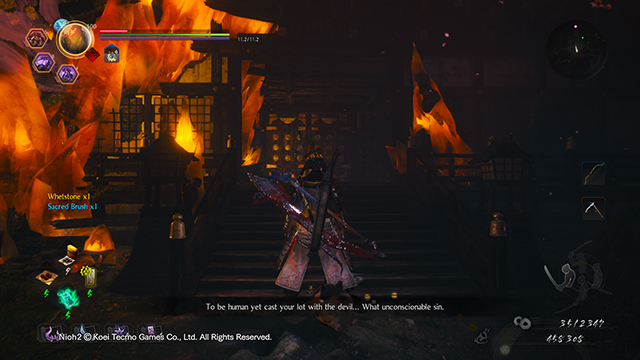
You’ll get to a building with crystals sticking out of it. Go inside.
Look to your right inside the building (Kodama #4)
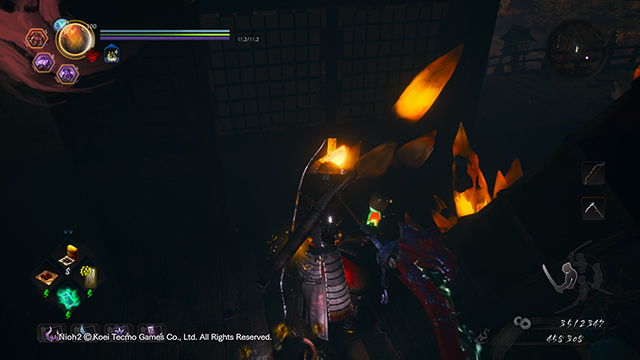
The Kodama is right inside that building on the right.
Get to the Shrine in the caves after the boss (Kodama #5)
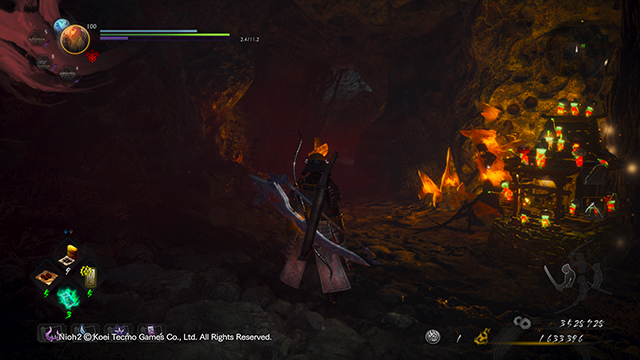
After the boss, you will descend into some twisty caves.
Go to the crossroads in the picture (Kodama #5)
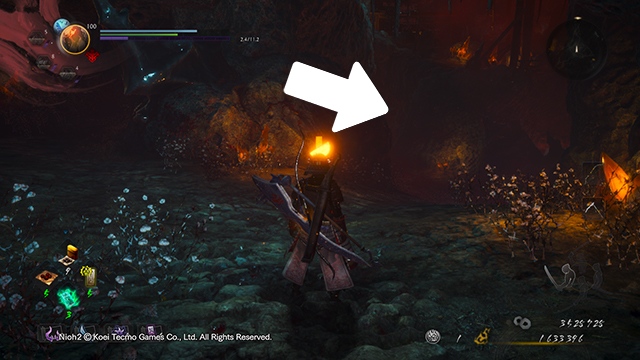
Go forward through the caves until you get to this crossroads. Go right.
Get to the area with the blood pool (Kodama #5)
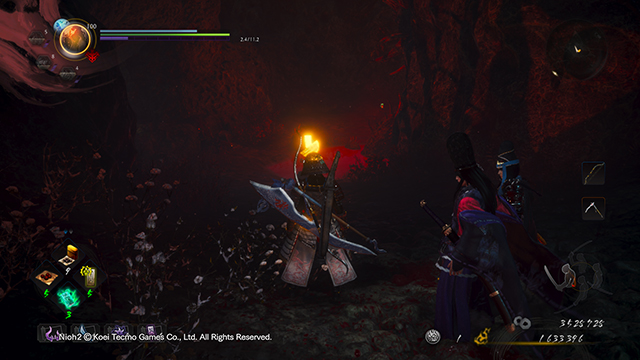
There will be an area with a blood pool and some wolves. Go there.
Go near the blood pool (Kodama #5)
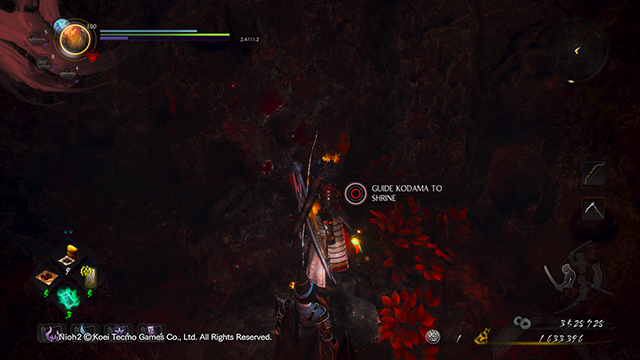
The Kodama is near that blood pool.
Get to the large crystal in the Dark Realm (Kodama #6)
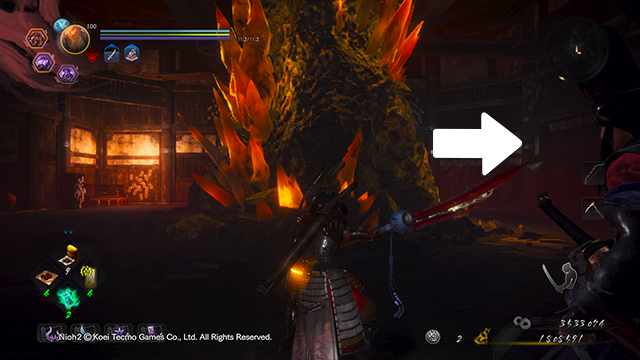
You will make it to this room with a large crystal rock. Go right.
Go through the door on the right side (Kodama #6)
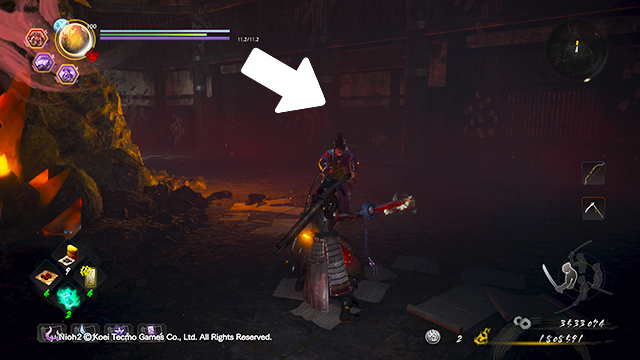
Once there, go to the door on the right.
Go down the stairs (Kodama #6)
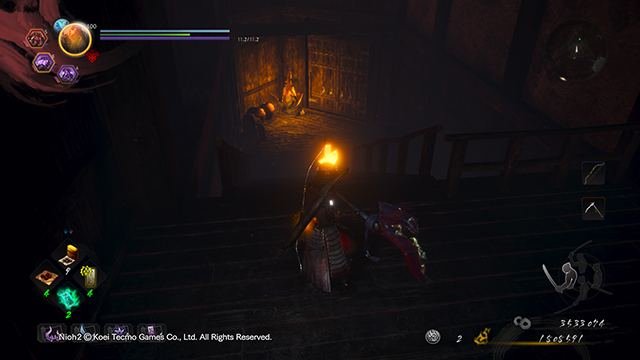
There will be some stairs just inside that door. Go down them.
Turn around at the bottom and you’ll it (Kodama #6)
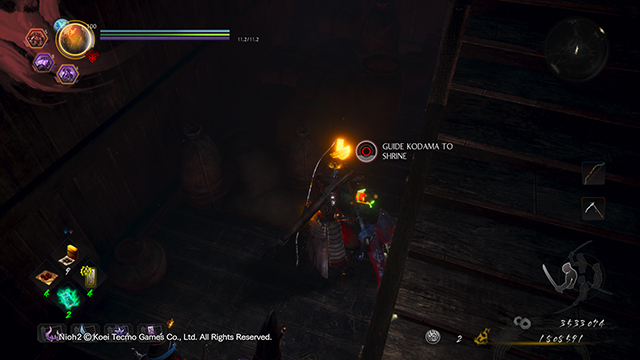
The Kodama is at the bottom of the stairs to the right.
Go near this area in the critical path within the caves (Kodama #7)
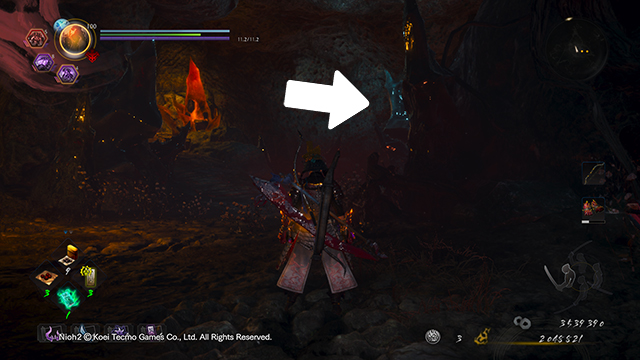
Get to this area in the caves on the critical path. It’s by the normal-looking rocks. Turn right.
Turn right near the blindfolded enemy (Kodama #7)
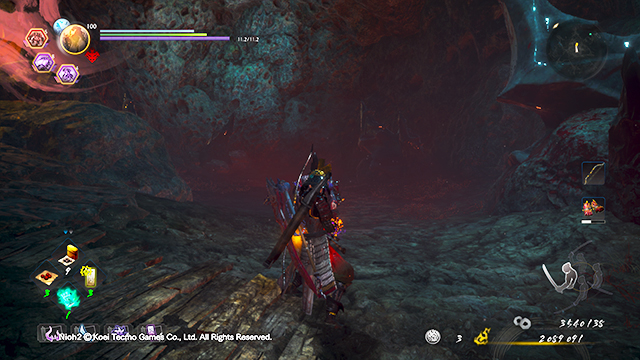
Turn right where the arrow is pointing and it looks like a dead end. There should also be an enemy there if you haven’t killed him already.
Look behind the rock on the right (Kodama #7)
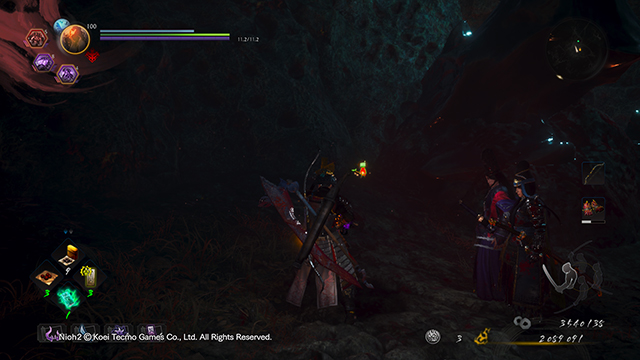
There is a rock on the right. The Kodama is hiding behind it.
Get to the final Shrine in the level (Kodama #8)
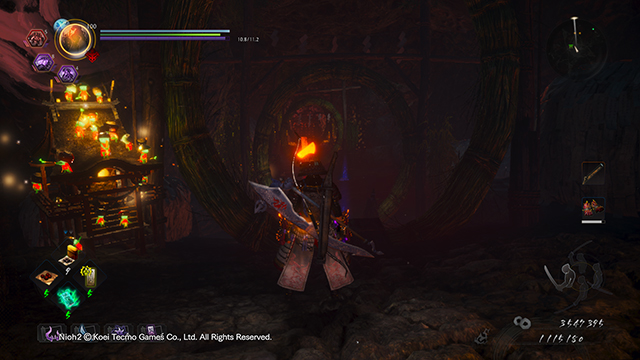
You will naturally be funneled to the final Shrine. It’s in an area with a lot of circular doorways.
Go through the doorway and look right (Kodama #8)
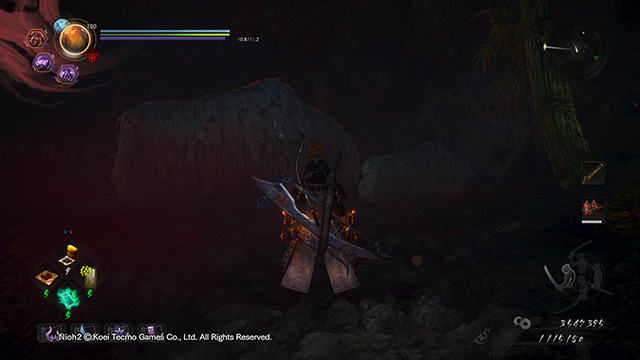
Go through the first doorway and look to your right. You’ll see the structures in the above picture.
Go behind those structures to see the Kodama (Kodama #8)
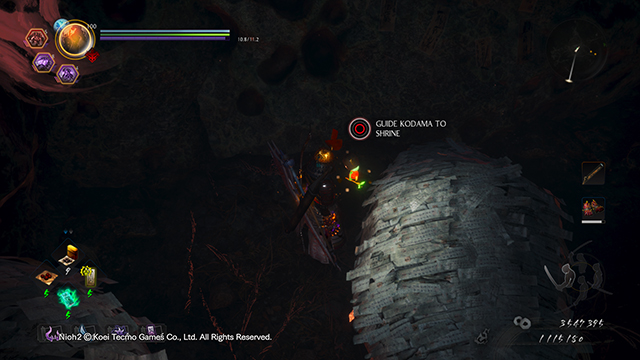
The Kodama is hiding behind those white structures.
Nioh 2 Darkness in the Capital Kodama Locations | The Buddha’s Palm
This side mission has six Kodama in it and is the only Darkness in the Capital mission with them.
Drop down the ladder into the Dark Realm (Kodama #1)
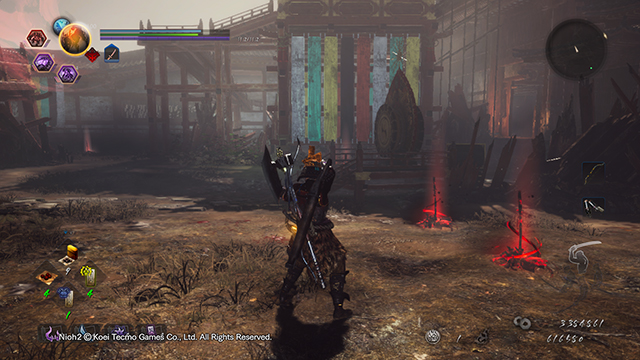
There is a Dark Realm section in the beginning after you drop down a ladder.
Turn around to your right (Kodama #1)
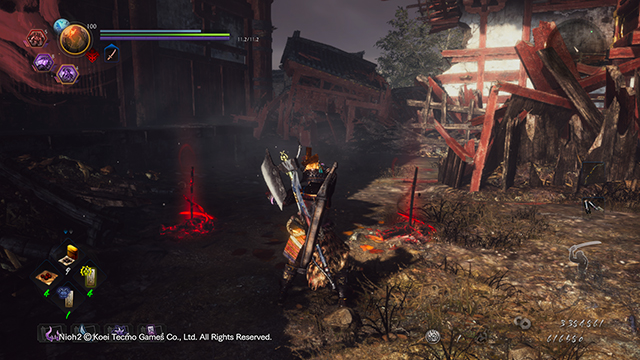
Now turn to your right.
Go into the bushes (Kodama #1)
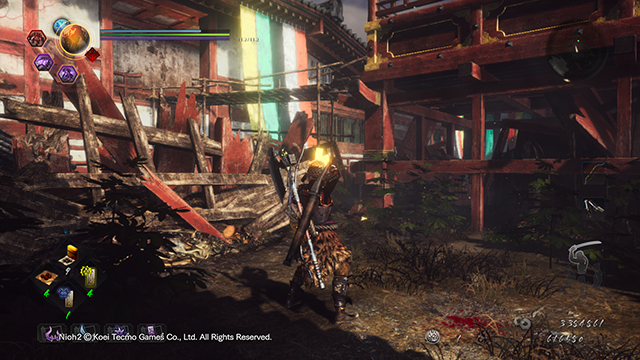
Now head into those bushes in the corner. You may want to take care of the enemies first.
Find the Kodama around one of the corners (Kodama #1)
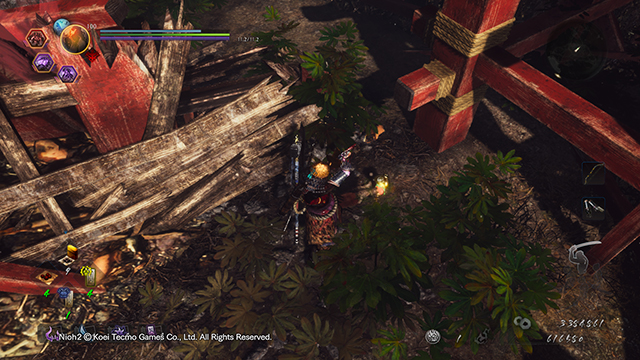
The Kodama is hidden in the bushes.
Go to the purple gate (Kodama #2)
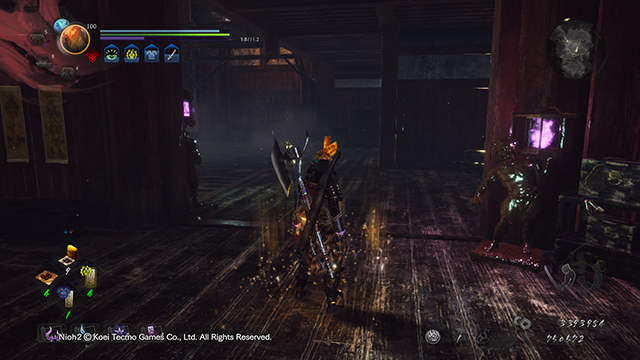
You will see a gate with a statue outside of it in the room with the Buddha statue in it.
Find the Kodama right on the other side of the gate (Kodama #2)
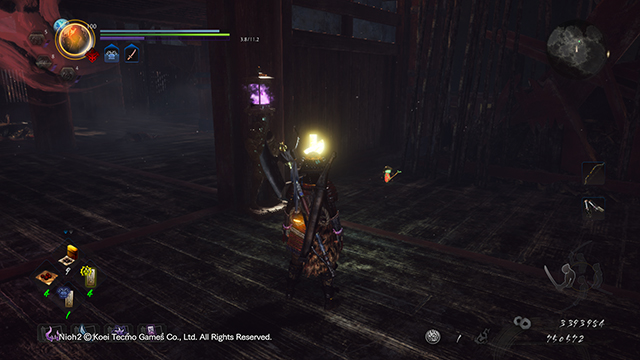
The Kodama is right on the other side of that gate.
Find the staircase in the Buddha statue room (Kodama #3)
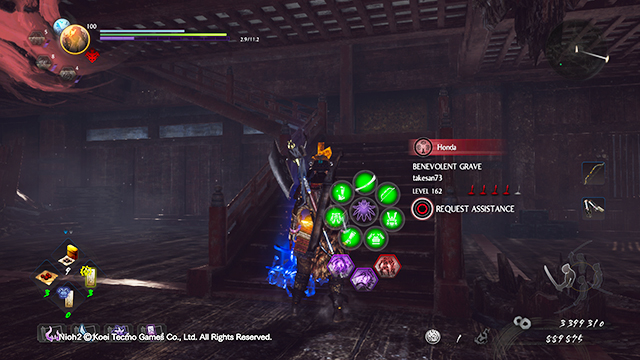
In the room with the Buddha statue, you’ll see this staircase. Go up it.
Go up the stairs until you get back outside (Kodama #3)
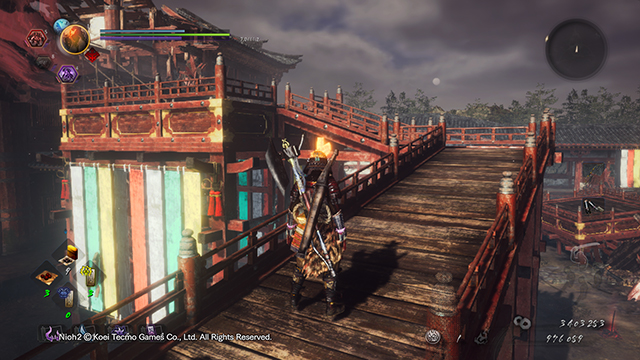
You’ll need to go up those stairs and get back outside, like you can see in the above picture.
Make your way to the Buddha statue (Kodama #3)
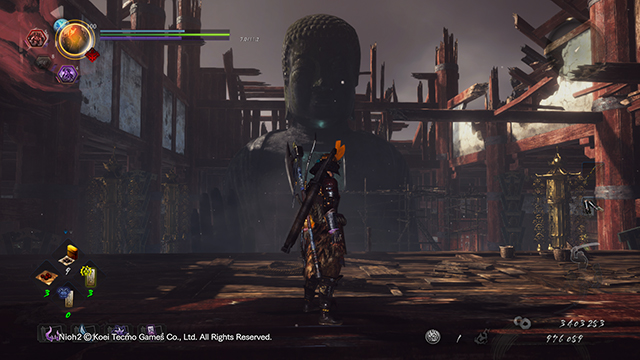
Get to the Buddha statue.
Go over its left hand (on your right) and go up the ladder (Kodama #3)
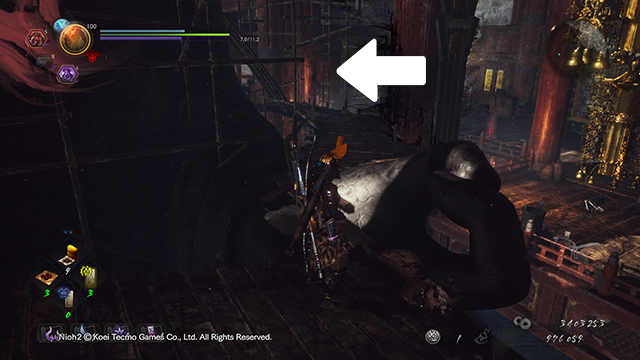
Go to the Buddha statue and go on its left hand that is on your right and then go up the ladder that the arrow is pointing to.
Go to the left hand from the right hand (Kodama #3)
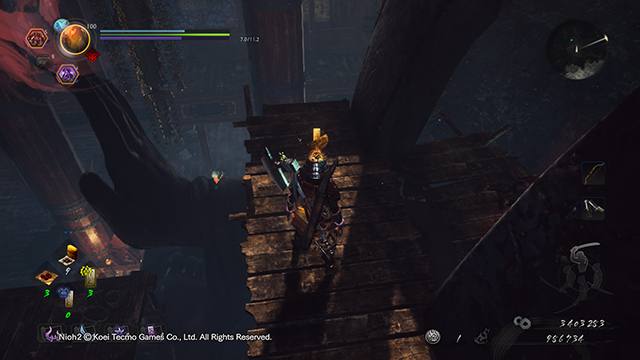
Now go over to the left hand from the right hand. You can see it below.
Drop down to the right hand (Kodama #3)
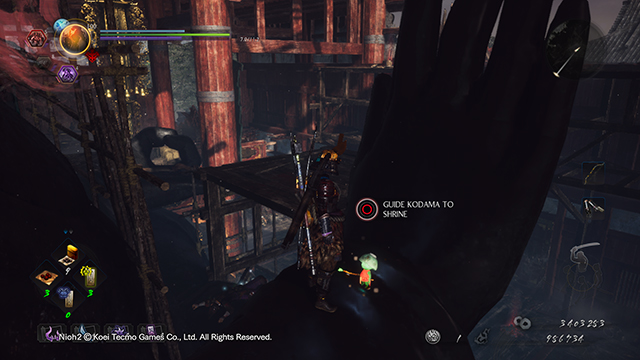
Now drop straight down to the hand to be with the Kodama.
Get to the smaller golden statue (Kodama #4)
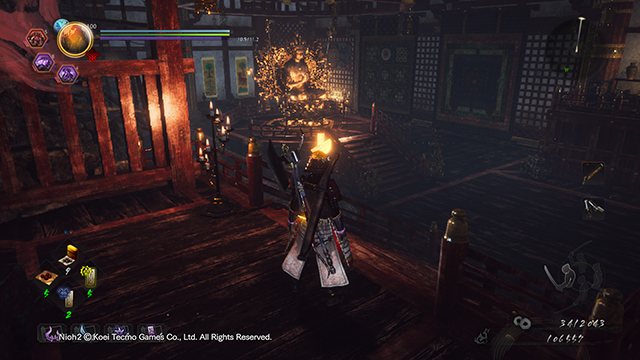
Progress until you get to the golden statue in the above picture. There will be an enemy with a long tongue patrolling.
Find the Kodama around the back of the statue (Kodama #4)
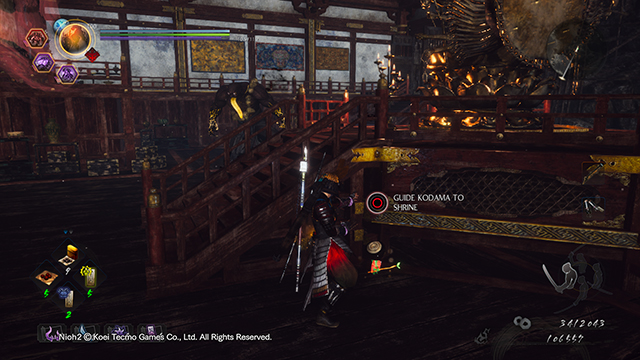
The Kodama is just hanging out near the base of the statue on the ground level.
Find the Kodama around one of the corners (Kodama #5)
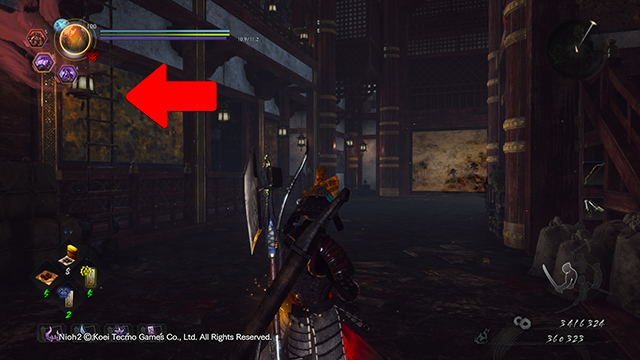
Continue just past the room with the golden statue and you will get to the room in the above picture. Go up the ladder on the left that the arrow is pointing to.
Go up the ladder and kill the yokai (Kodama #5)
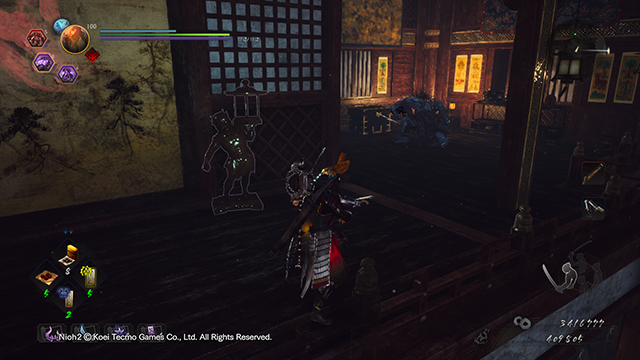
Once you go up the ladder, you’ll see a yokai by a chest. Kill it because the Kodama is to the left of the chest.
Check to the left of the chest (Kodama #5)
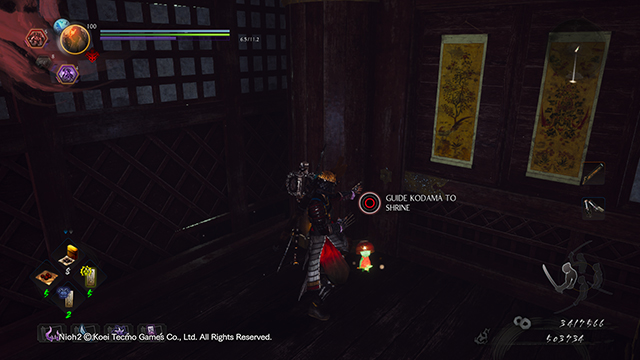
Once it is killed, check to the left of the chest. The Kodama is right there.
Find the room with the Dark Realm (Kodama #6)
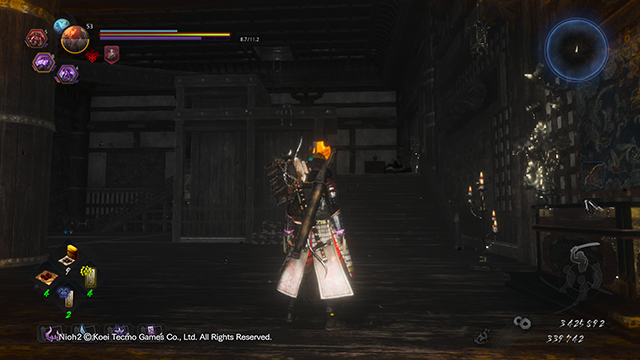
You will eventually make your way to a room infested with the Dark Realm.
Go near the ladder (Kodama #6)
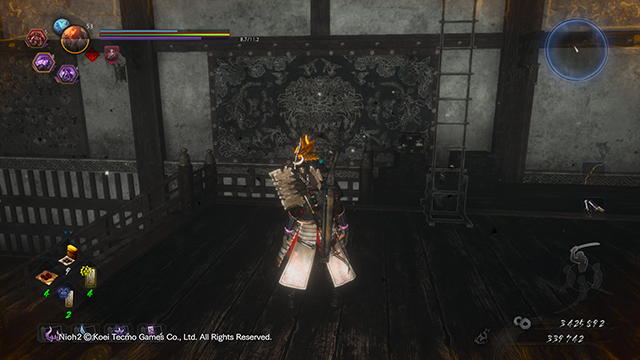
You will see some enemies patrolling and there will be a long-tongued enemy near a ladder.
Go down the stairs near the ladder (Kodama #6)
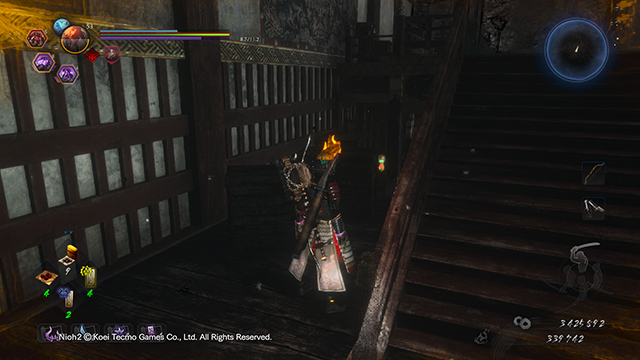
Don’t go up the ladder yet. Go down the stairs to the left of the ladder instead.
Look in the small alcove near the bottom of the stairs (Kodama #6)
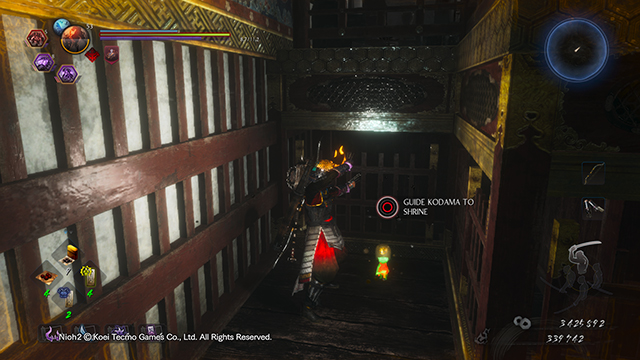
The Kodama is in a small alcove near those stairs.
You should have every Kodama in Darkness in the Capital now. If you need help finding the hot springs, you can check out our guide on that as well. If you want to know where the fire altars are, there is also a guide for that. If you need help getting the Oboroguruma to release Amrita, here’s the guide on that. And of course, if you want to know the ins and outs of the Fists and Clawed Fist weapons, there is also a guide on that.
