Boss Guide


Shovel Knight's journey pits him against the Order of No Quarter, a group of misfit knights who protect the Enchantress. The following strategies will help players defeat the eight knights and the Enchantress herself. All of these fights are made a whole lot easier with the Troupple King's ichor, but players should use that as a last resort. After all, Shovel Knight is meant to be challenging.


King Knight

Location: Pridemoor Keep


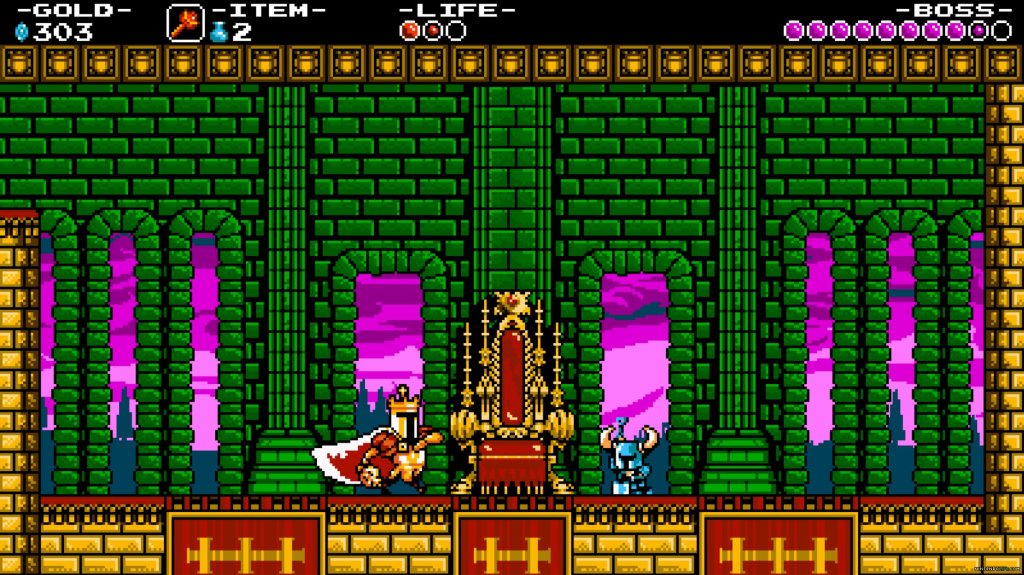
King Knight likes to jump around a lot, though he mixes it up with short and high jumps. Regular melee attacks do little to stop his momentum, so jumping on the boss's head is a wise tactic. When he gets ready to strike the ground, jump to avoid being stunned. Also be prepared to dodge when he readies his weapon, as he quickly dashes at the player and executes a melee attack. Occasionally he calls trumpets that produce dangerous confetti, but the confetti is easy to avoid and the move leaves King Knight open to attacks.


Specter Knight

Location: The Lich Yard


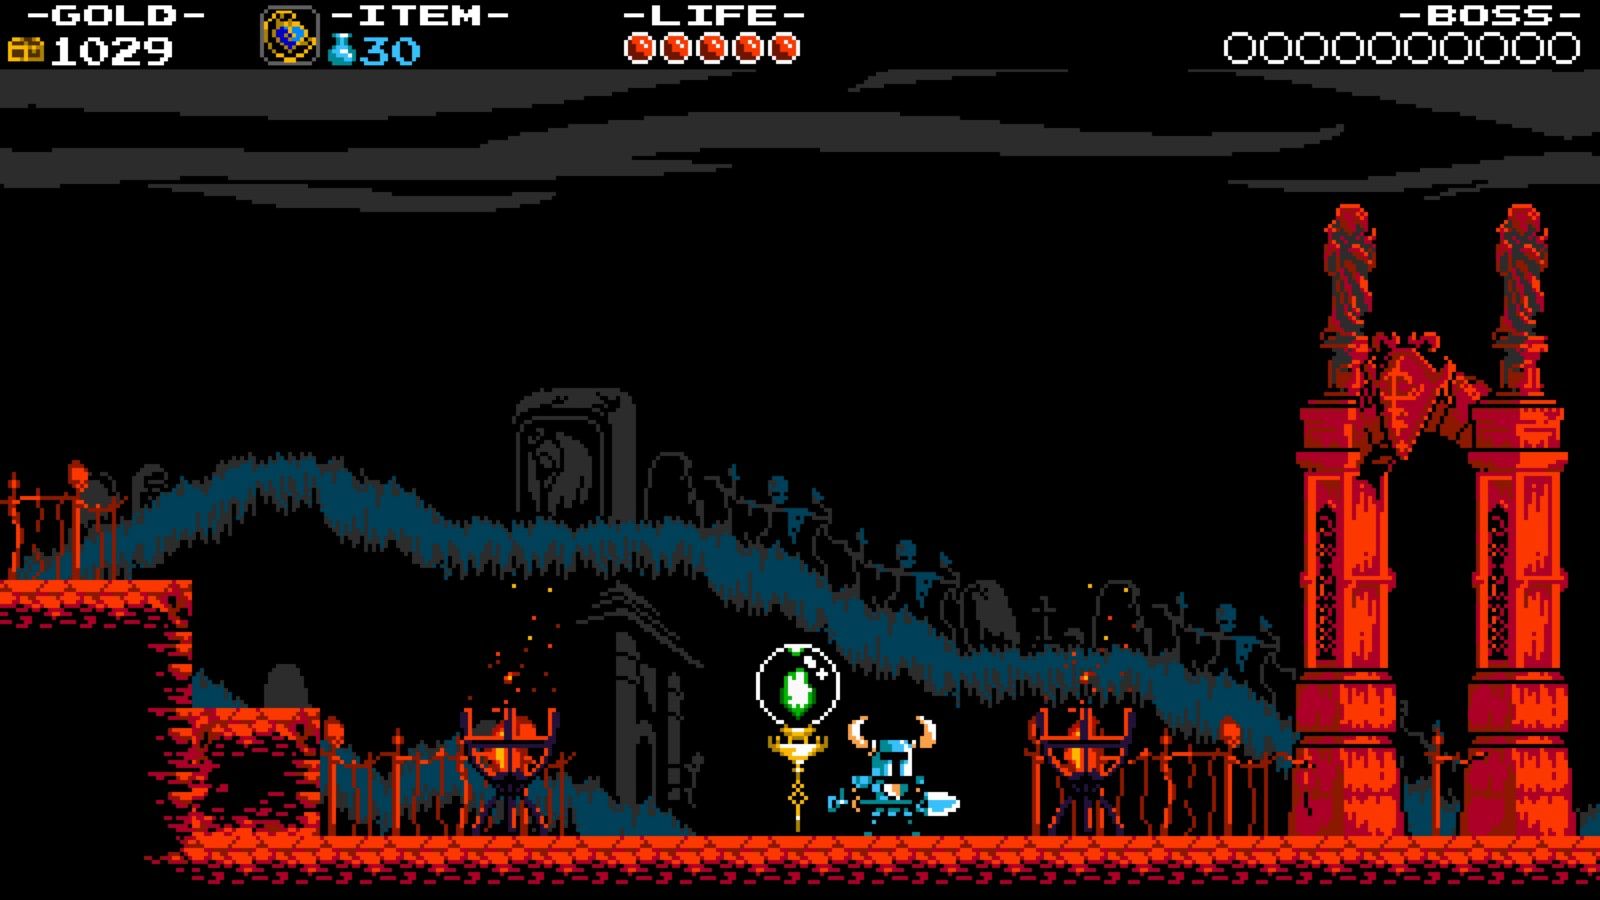
Specter Knight is tougher than most of the earlier bosses, but the strategy boils down to pattern recognition. He likes to roam around the level and use his sickle to cover more ground, so knowing what paths he takes is key to victory. The main attack to watch out for is his sickle toss, which follows a few different patterns. All tosses can be avoided by standing on one of two platforms, depending on the pattern. He also has a sickle slash, which provides an opportunity to jump on his head following a successful dodge. Every now and then he summons a few skeletons that can be quickly dispatched. The safest time to attack is when he floats left and right across the map. Just get a hit or two in and then carefully follow his movements. Also, the flare wand (found in Pridemoor Keep) is a good relic to have for this fight as it provides some long-range versatility.


Plague Knight

Location: Explodatorium


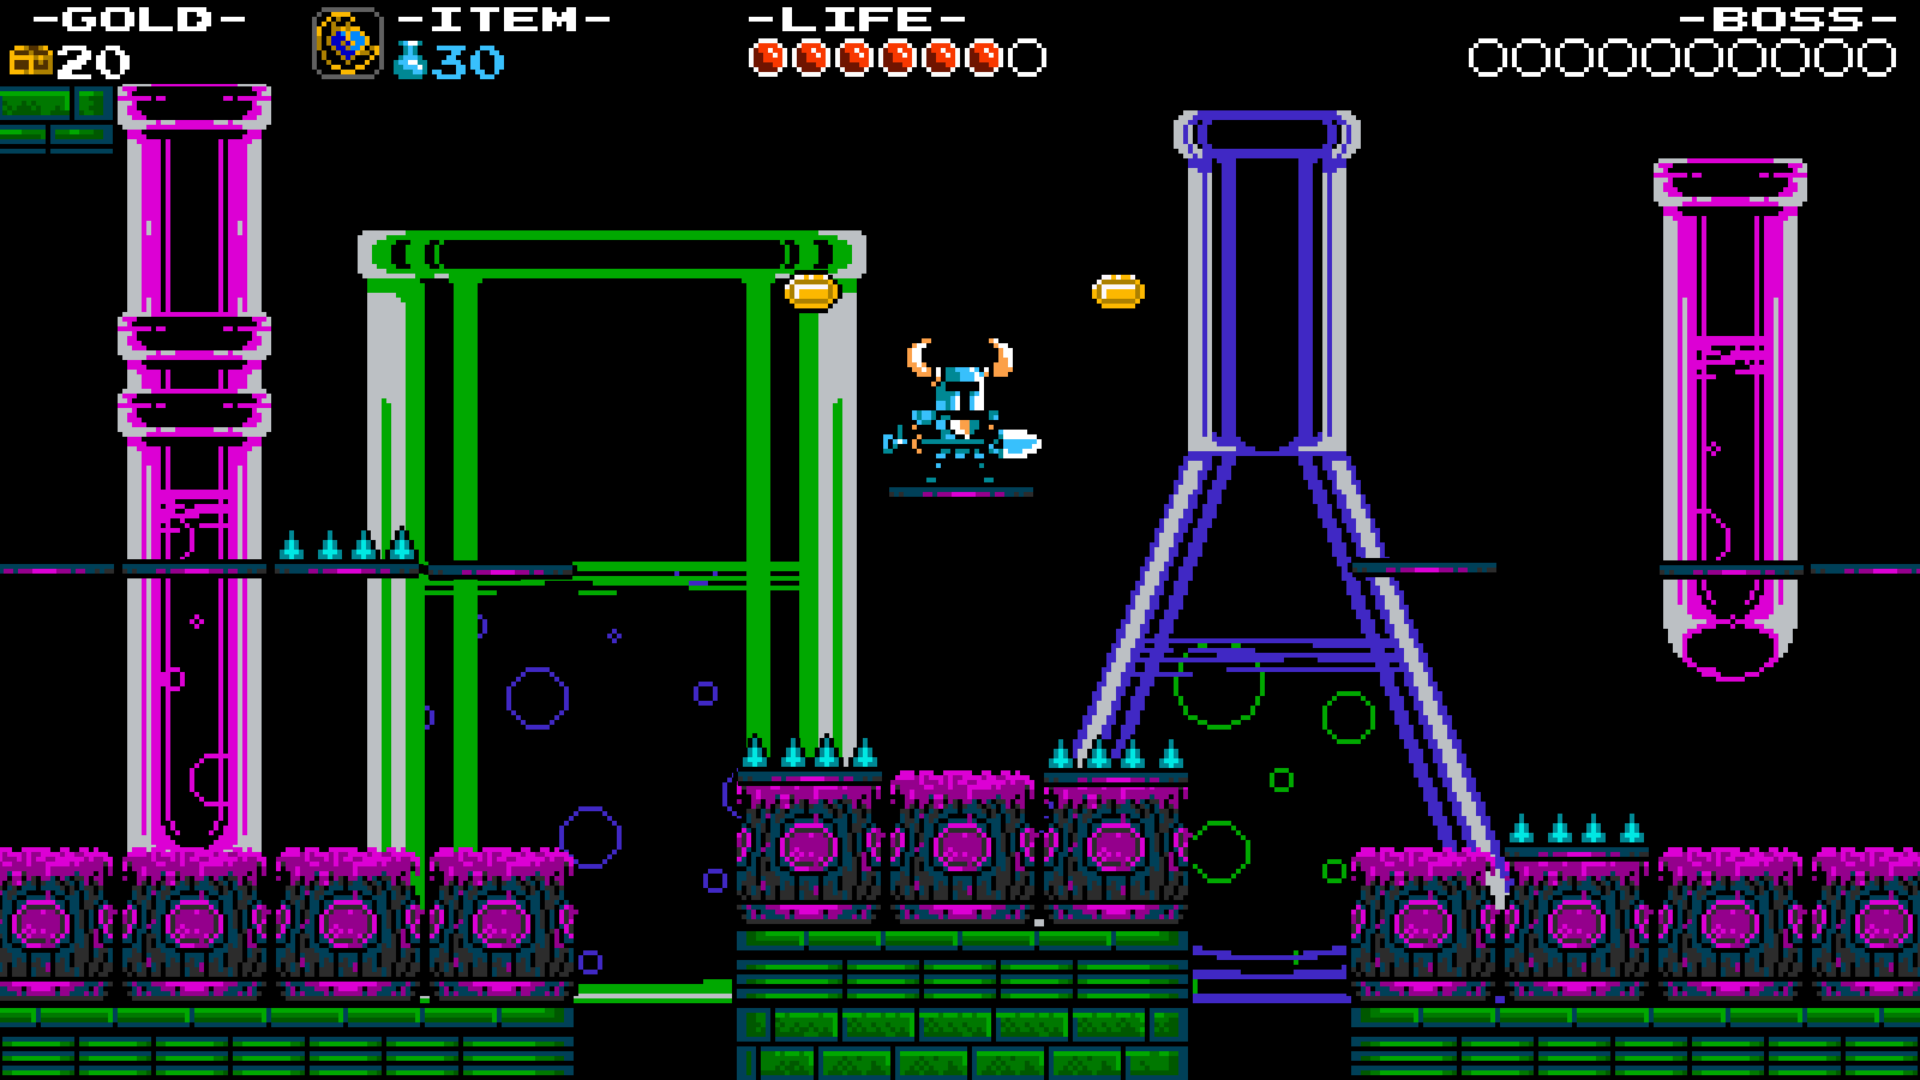
Perhaps the most unpredictable boss in the game tests the player's reaction time. He has a lot of moves, even more bombs, and doesn't stick to a set pattern. After his first jump he throws a bomb that destroys some of the ground and produces green flames that travel along the floor and wall. From that point on he jumps a lot, throws more bombs (sometimes three at once), and summons beakers that produce huge explosions. His last attack is a flurry of bombs, about five or six in a row, thrown directly at the player. The only real strategy here to to stay above Plague Knight as much as possible. The rest of the fight is a test of awareness and reaction time.


Treasure Knight

Location: Iron Whale


The anchor is Treasure Knight's best friend in this fight. He'll shoot it horizontally or vertically and then either pull himself to the anchor or pull it back in an attempt to hit the player. Well-timed jumps are the key to avoiding those attacks. He sometimes pounds the ground which causes a wave of treasure to travel across the map, but again, jumping allows the player to avoid getting hit. He also shoots mines that float down and throws out a treasure chest when low on health. The chest creates a whirlpool effect that sucks the player and the mines in, which obviously causes damage and also results in a loss of money. Always avoid the treasure chest. Just hit Treasure Knight when you can and use the flare wand or chaos sphere if necessary.


Mole Knight

Location: Lost City


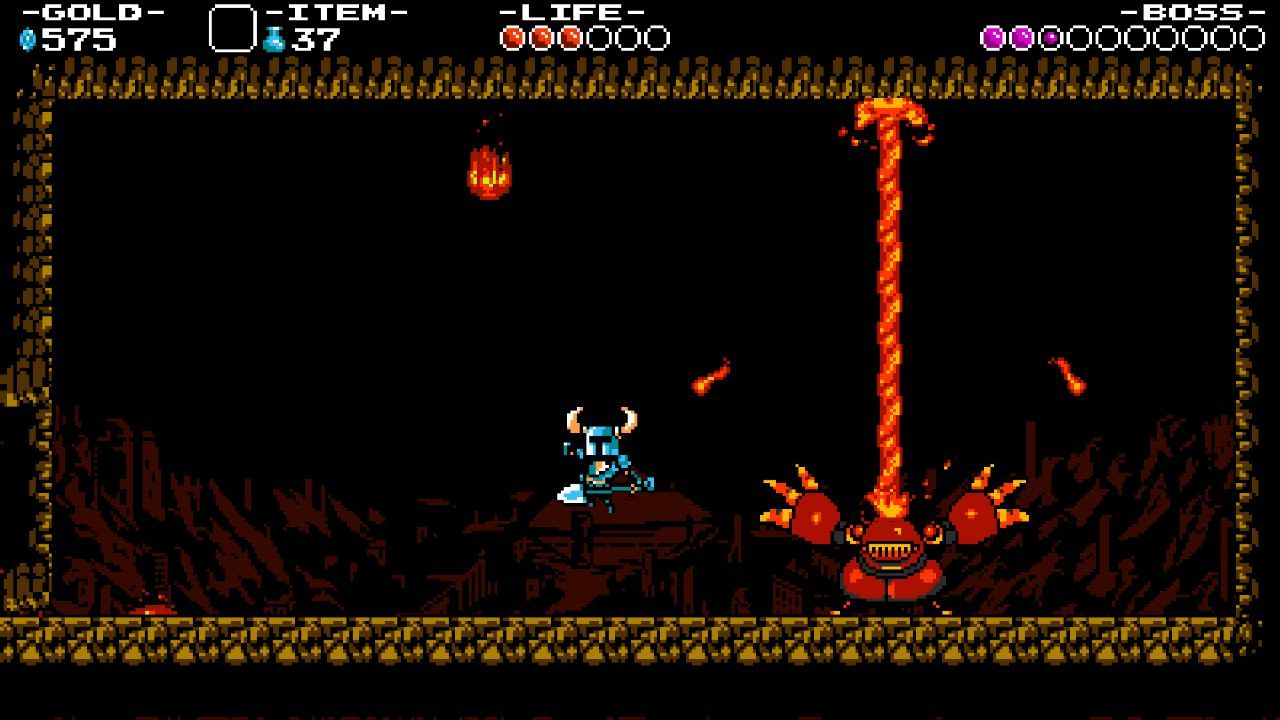
One of the easier boss fights with simple patterns that provide ample opportunities to deal damage. Mole Knight starts the fight by going back and forth between walls about four times – if you're quick you can jump on his head each time. After the fourth time he slows down and skids across the floor, creating dangerous sparks. Then he decides to throw a series of blocks at the player made of dirt, ice, or chains. Dig the blocks out of the way and prepare for a little game of whac-a-mole (sort of). Four dirt mounds appear, with Mole Knight hiding in one of them. Dig the correct mound to prevent the other three from exploding and then get ready for him to travel across the screen while encased in lava. He can't be damaged at this point, so just play defense, avoid the fire dropping from the ceiling, and prepare for the cycle to repeat itself. Mole Knight's speed increases as his health drops, but he shouldn't pose much of a threat.


Tinker Knight

Location: Clockwork Tower


Jump on Tinker Knight's head and avoid his wrenches. That was sure was easy... oh wait, he has another form. The floor collapses and Tinker Knight fortifies himself in a giant robot. The second phase of the fight isn't particularly difficult either, just use the torpedoes he shoots as platforms to get to his head and then proceed to jump on it multiple times. Eventually he shoots shoulder rockets, so avoid those (even fall back to the ground if you have to) and repeat the process. Sometimes he backs up and charges his drill arm while shooting rockets, so just worry about dodging and wait for him to return to his original position. It's a pretty easy boss fight, but here's a fun challenge for skilled players out there: try to beat Tinker Knight's second form without touching the ground.


Polar Knight

Location: Stranded Ship


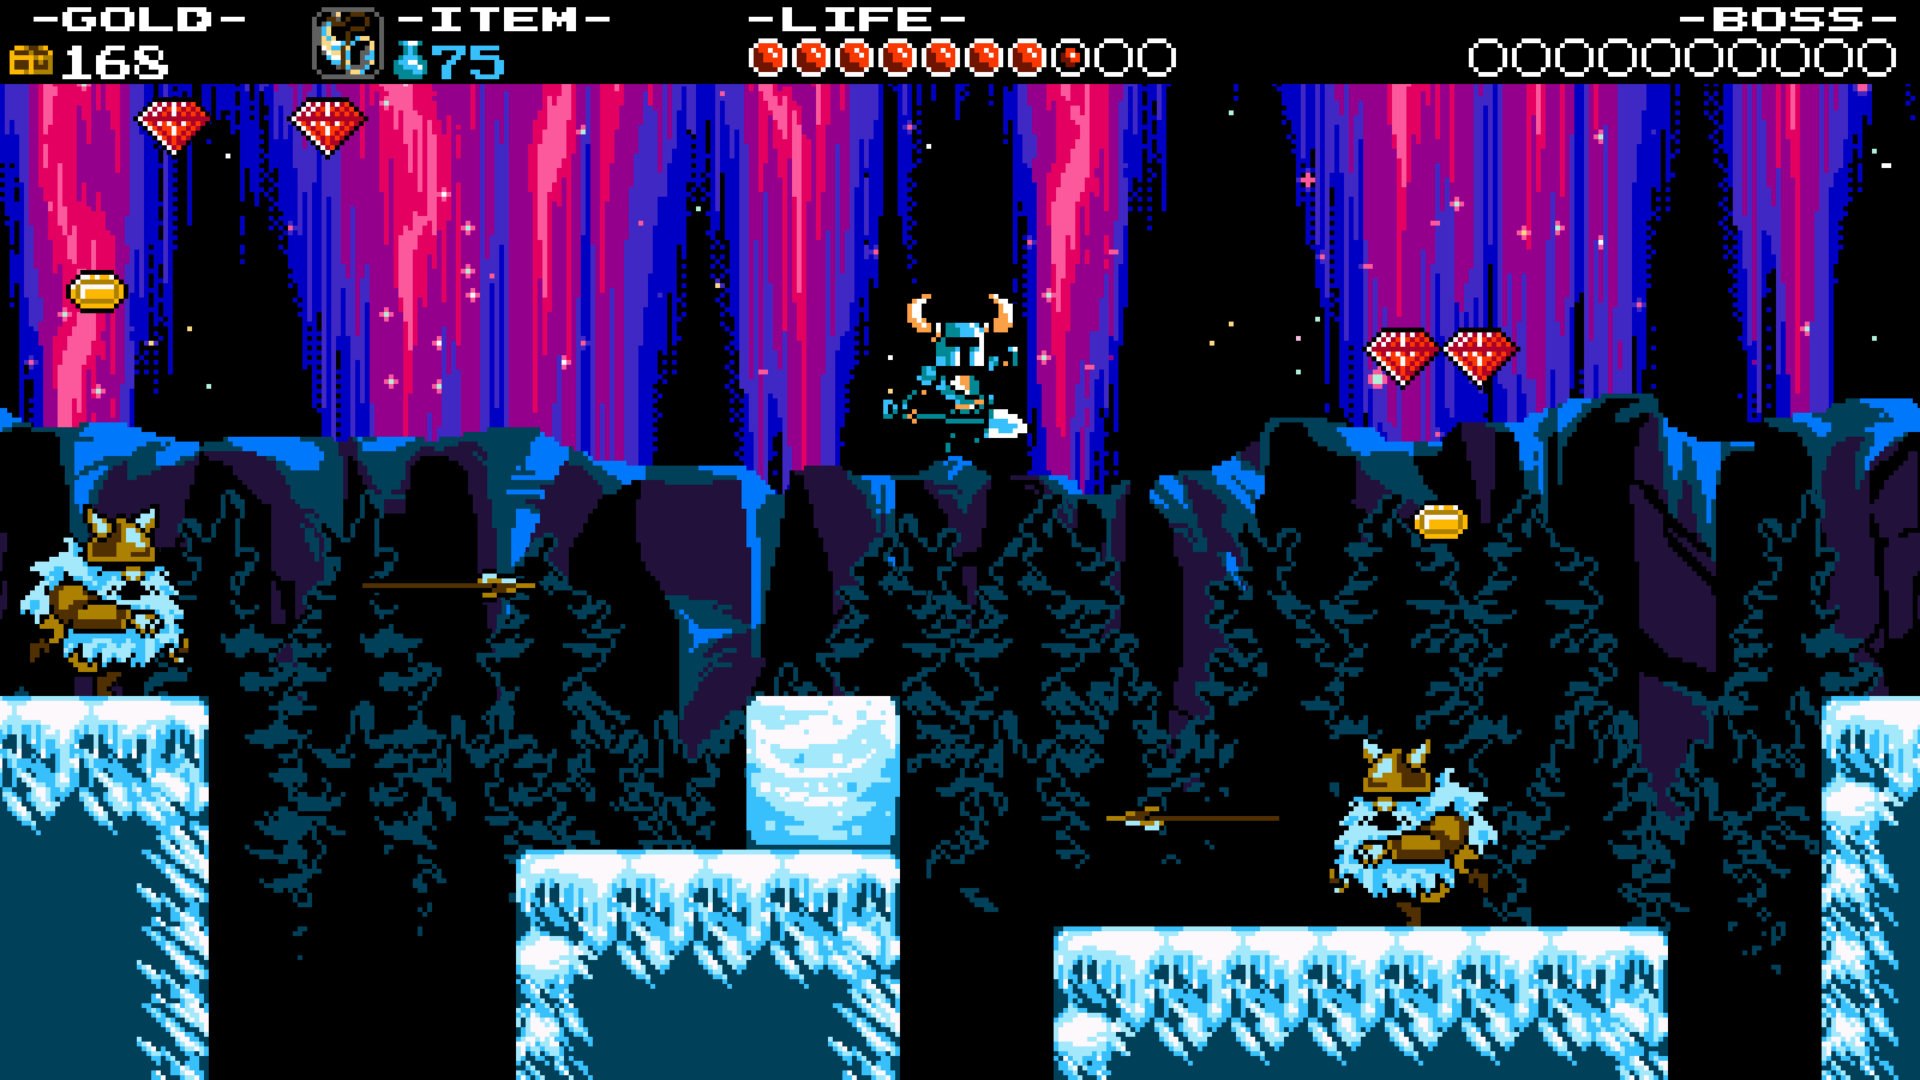
Polar Knight enjoys making huge snowballs and throwing them at the player. Jump or bounce over the snowballs and then try to jump on his head. Eventually he shields himself from the player's attacks and gets ready to strike the ground. Don't jump because part of the ground will disappear, revealing spikes. Spikes equal instant death, so we now know the most difficult part of the fight. He continues to throw snowballs and occasionally stomps the ground which brings icicles crashing down. Don't worry too much about dealing damage, just get hits in when you can and be sure to avoid those spikes. The phase locket, which briefly grants immunity, is the perfect relic to use in this fight.


Propeller Knight

Location: Flying Machine


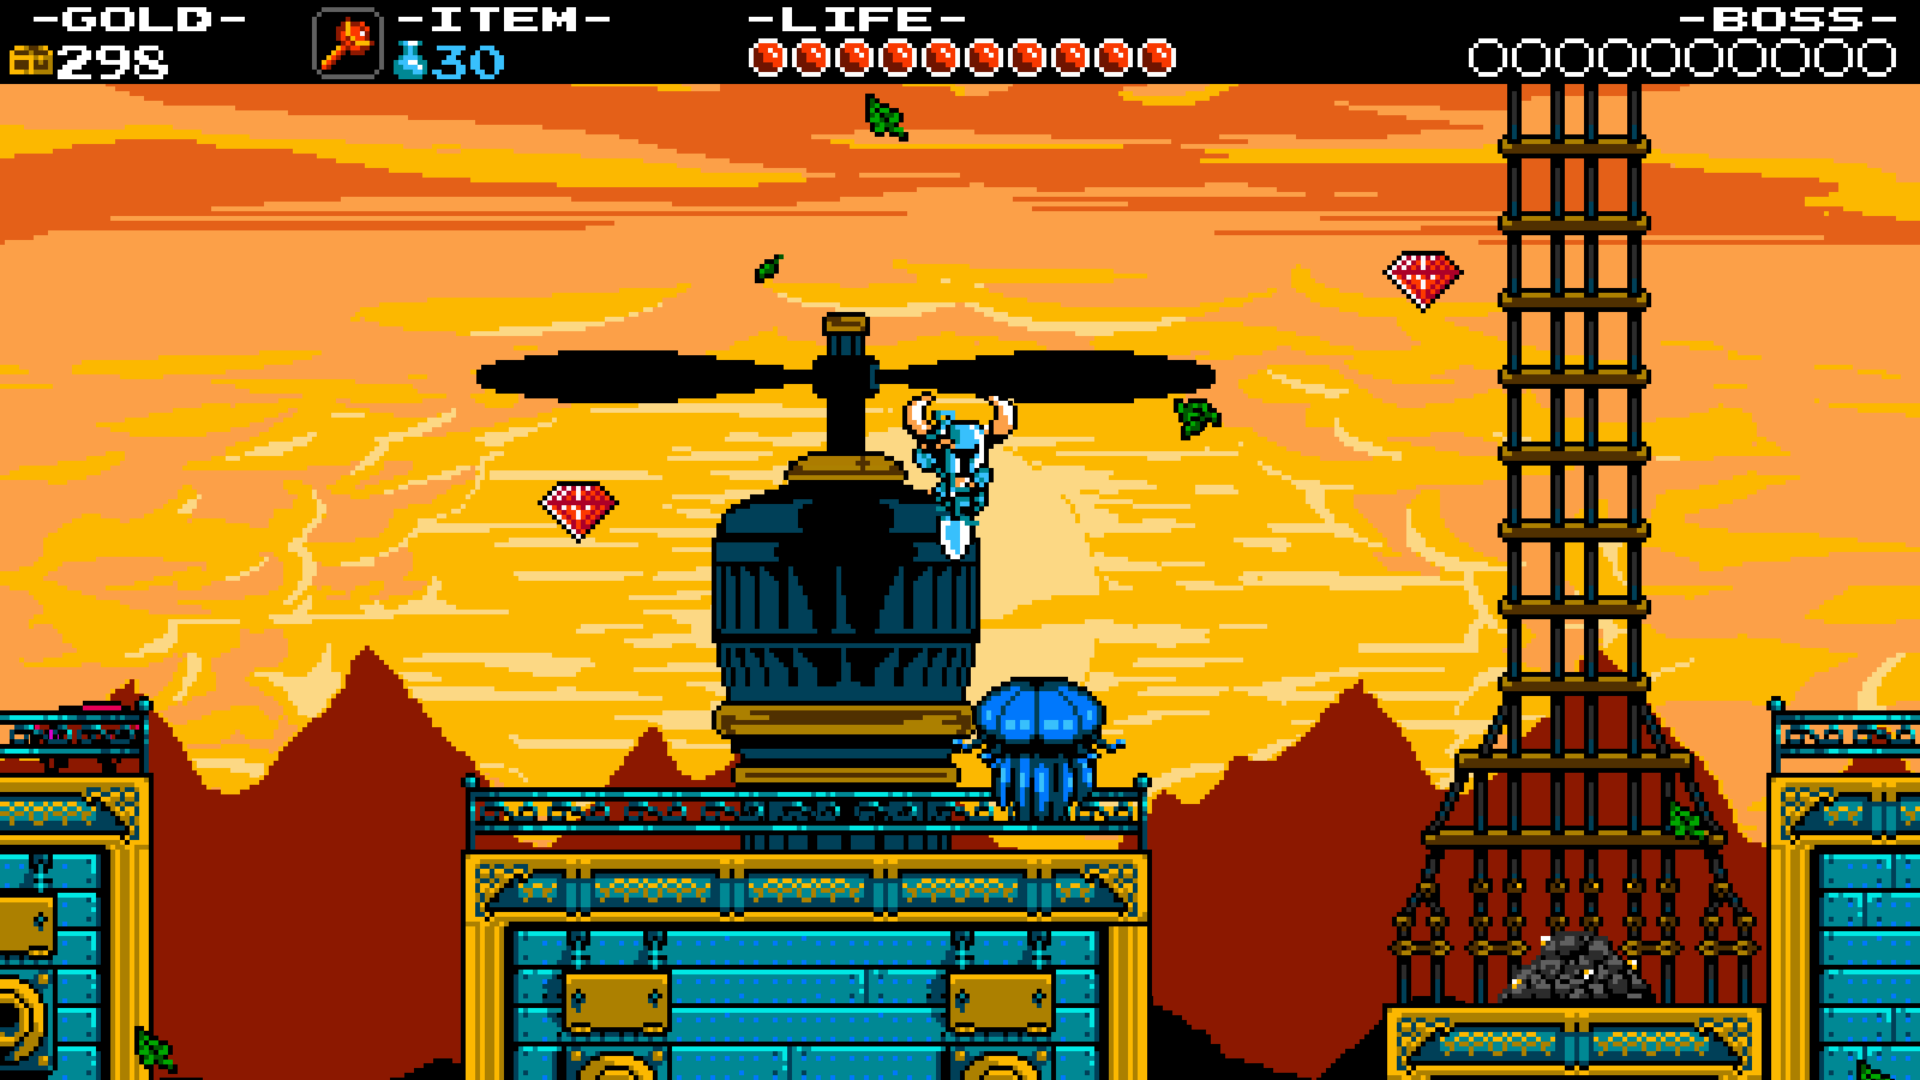
Propeller Knight uses his trusty rapier to attack the player, often dashing across the map to do so. This opens him up to shovel drop attacks, but when he turns on his propeller he sends the player high into the air. At this point he readies his rapier for a particularly nasty attack, so try not to land anywhere near him. He also uses the propeller to blow the player off the map or suck them in for an attack, so always look for a height advantage to avoid the attack. After taking a certain amount of damage he calls in an airship, which then proceeds to shoot cannonballs and bombs and in turn creates deadly pits. Avoid the pits, hit him as he comes down for his swoop attacks, and try to jump on his head when he lands again. The throwing anchor is a great relic for this fight, as it allows the player to damage Propeller Knight while he hovers above and calls in the airship.


The Enchantress

Location: Tower of Fate


The danger with the Enchantress' boss fight isn't really the Enchantress herself. It's the fact that she can destroy the ground and create bottomless pits, which we all know results in instant death. When she throws the first few fireballs, hit them back at her with the shovel and then proceed to dodge all others after that. Attack her when you can and don't worry about health or magic, since it will be replenished for the next fight.


Shield Knight and Shovel Knight are reunited once more for the final boss fight against the evil force. Shield Knight will hold up her shield, which allows the player to jump up and get in a hit or two on the evil force. Getting the proper height on jumps can be tricky, but just keep at it. Also be sure to stick with Shield Knight for most of the fight, since she also offers protection from some of the energy sphere attacks. Some of the energy sphere attacks have unique patterns and add to the challenge of the fight, but try to telegraph each attack as best as you can. After a certain amount of damage the evil force drops on parts of the map and creates more bottomless pits, so avoid those and continue to jump on its head. After defeating the evil enchantress, give yourself a pat on the back. You beat Shovel Knight!

Atlas is an action-rpg with rogue-like elements where you use your ability to control the ground to fight the enemies and move through procedurally generated worlds.
