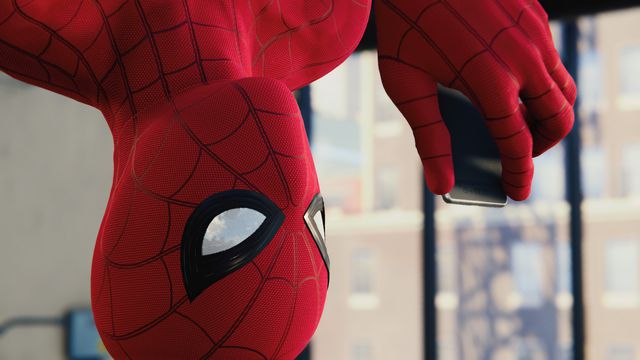
It’s becoming more and more common but fans will be happy to hear that Spider-Man PS4 photo mode exists and has all the features one would expect. Here’s what you can do in photo mode and how to access it:
Spider-Man PS4 Photo Mode: Installation and Use
Spider-Man‘s photo mode isn’t available prior to the game’s official release. Once it’s out, you’ll need to download photo mode via the day one patch. When installed, you can access photo mode by pressing the options button to get the in-game menu to appear. From here, you’ll select photo mode. Once photo mode is selected a new menu will appear in the corner of the screen. This menu shows you the options you’ll have at your disposal when executing your video game photography.
Spider-Man PS4 Photo Mode: Features
Below are the options you’ll see once you’re in photo mode. The main bullet points represent the general tabs you can toggle through using L1 and R1. The rest represents the options you can find under each tab, respectively:
- Camera
- Camera type: selfie, free.
- Hero visibility
- Tilt of the photo
- Lens
- Focus distance
- Apeture
- Filters and frames
- Type: none, noir, war film, vintage, spider chrome, sepia, sci-fi green, pop art.
- Blend
- Frame selection: these are numbered, not named, but they can be characterized as cropping the image in black or gesturing to other mediums such as bill boards, newspapers, film strips, and so on.
- Frame level
- Vignette intensity
- Vignette center clear
- Film grain size
- Film grain strenghth
- Photo mode—selfie
- Emote: default, squint, angry, shifty.
- Eye intensity
- Selfie light
- Sticker mode featuring icons such as the Spider-Man title, Spider-Man chibis, comic book icons/text, and so on.
The bottom of the mode reminds you that you can reset the scene, move the camera, hide the menu, or close the mode entirely. For some examples on how all these options can function together be sure to watch Insomniac Games’ Photo Mode Trailer, below: