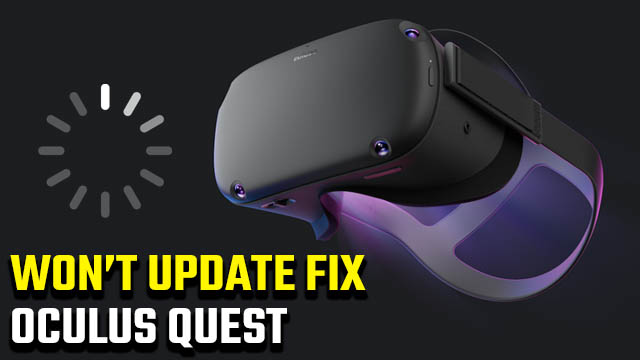
Facebook’s Oculus Quest headset is easily the most accessible VR device on the market, what with its lack of cables and external sensors. One area in which it can be a little more obstructive, however, is when it comes time to install system updates. Some Quest users are contending with getting stuck in an infinite checking for updates loop when attempting to go the manual route, while others are finding that the Oculus app auto-update toggle isn’t available. Whatever trouble you’re having, this Oculus Quest won’t update fix should get you back up and running in no time.
Oculus Quest won’t update fix
You should be able to update your Oculus Quest system software via a couple of different methods, but there are complaints online that both routes can be troublesome. Most sources recommend turning on auto-update functionality from the Oculus mobile application, but that option has seemingly been removed and we’ve verified that it no longer appears in the “Advanced Settings” menu.
ALSO: Oculus Quest Multiple Users | Can you add another account?
Alternatively, you can manually check for an update within the headset itself while connected to Wi-Fi. That’s not much help either when the process can get stuck in an infinite loop, though — we’ve also experienced this for ourselves.
Although it might seem like you’re out of options at that point, here’s a quick and easy way to grab the latest Oculus Quest system updates:
Oculus Quest won’t update fix
- Ensure that your Oculus Quest is connected to a functioning Wi-Fi network.
- Plug the Oculus Quest headset into a mains power supply.
- Put the headset on and grab a Touch controller.
- Navigate to “Settings.”
- Select “See All.”
- Select “About.”
- Select “Install” at the top right.
- Place your Quest on a flat surface with nothing blocking the sensors.
When plugged in, your Oculus Quest shouldn’t become stuck searching for an update and should instantly return a result instead. If there isn’t an “Install” button, then you’re already up to date for the time being.